

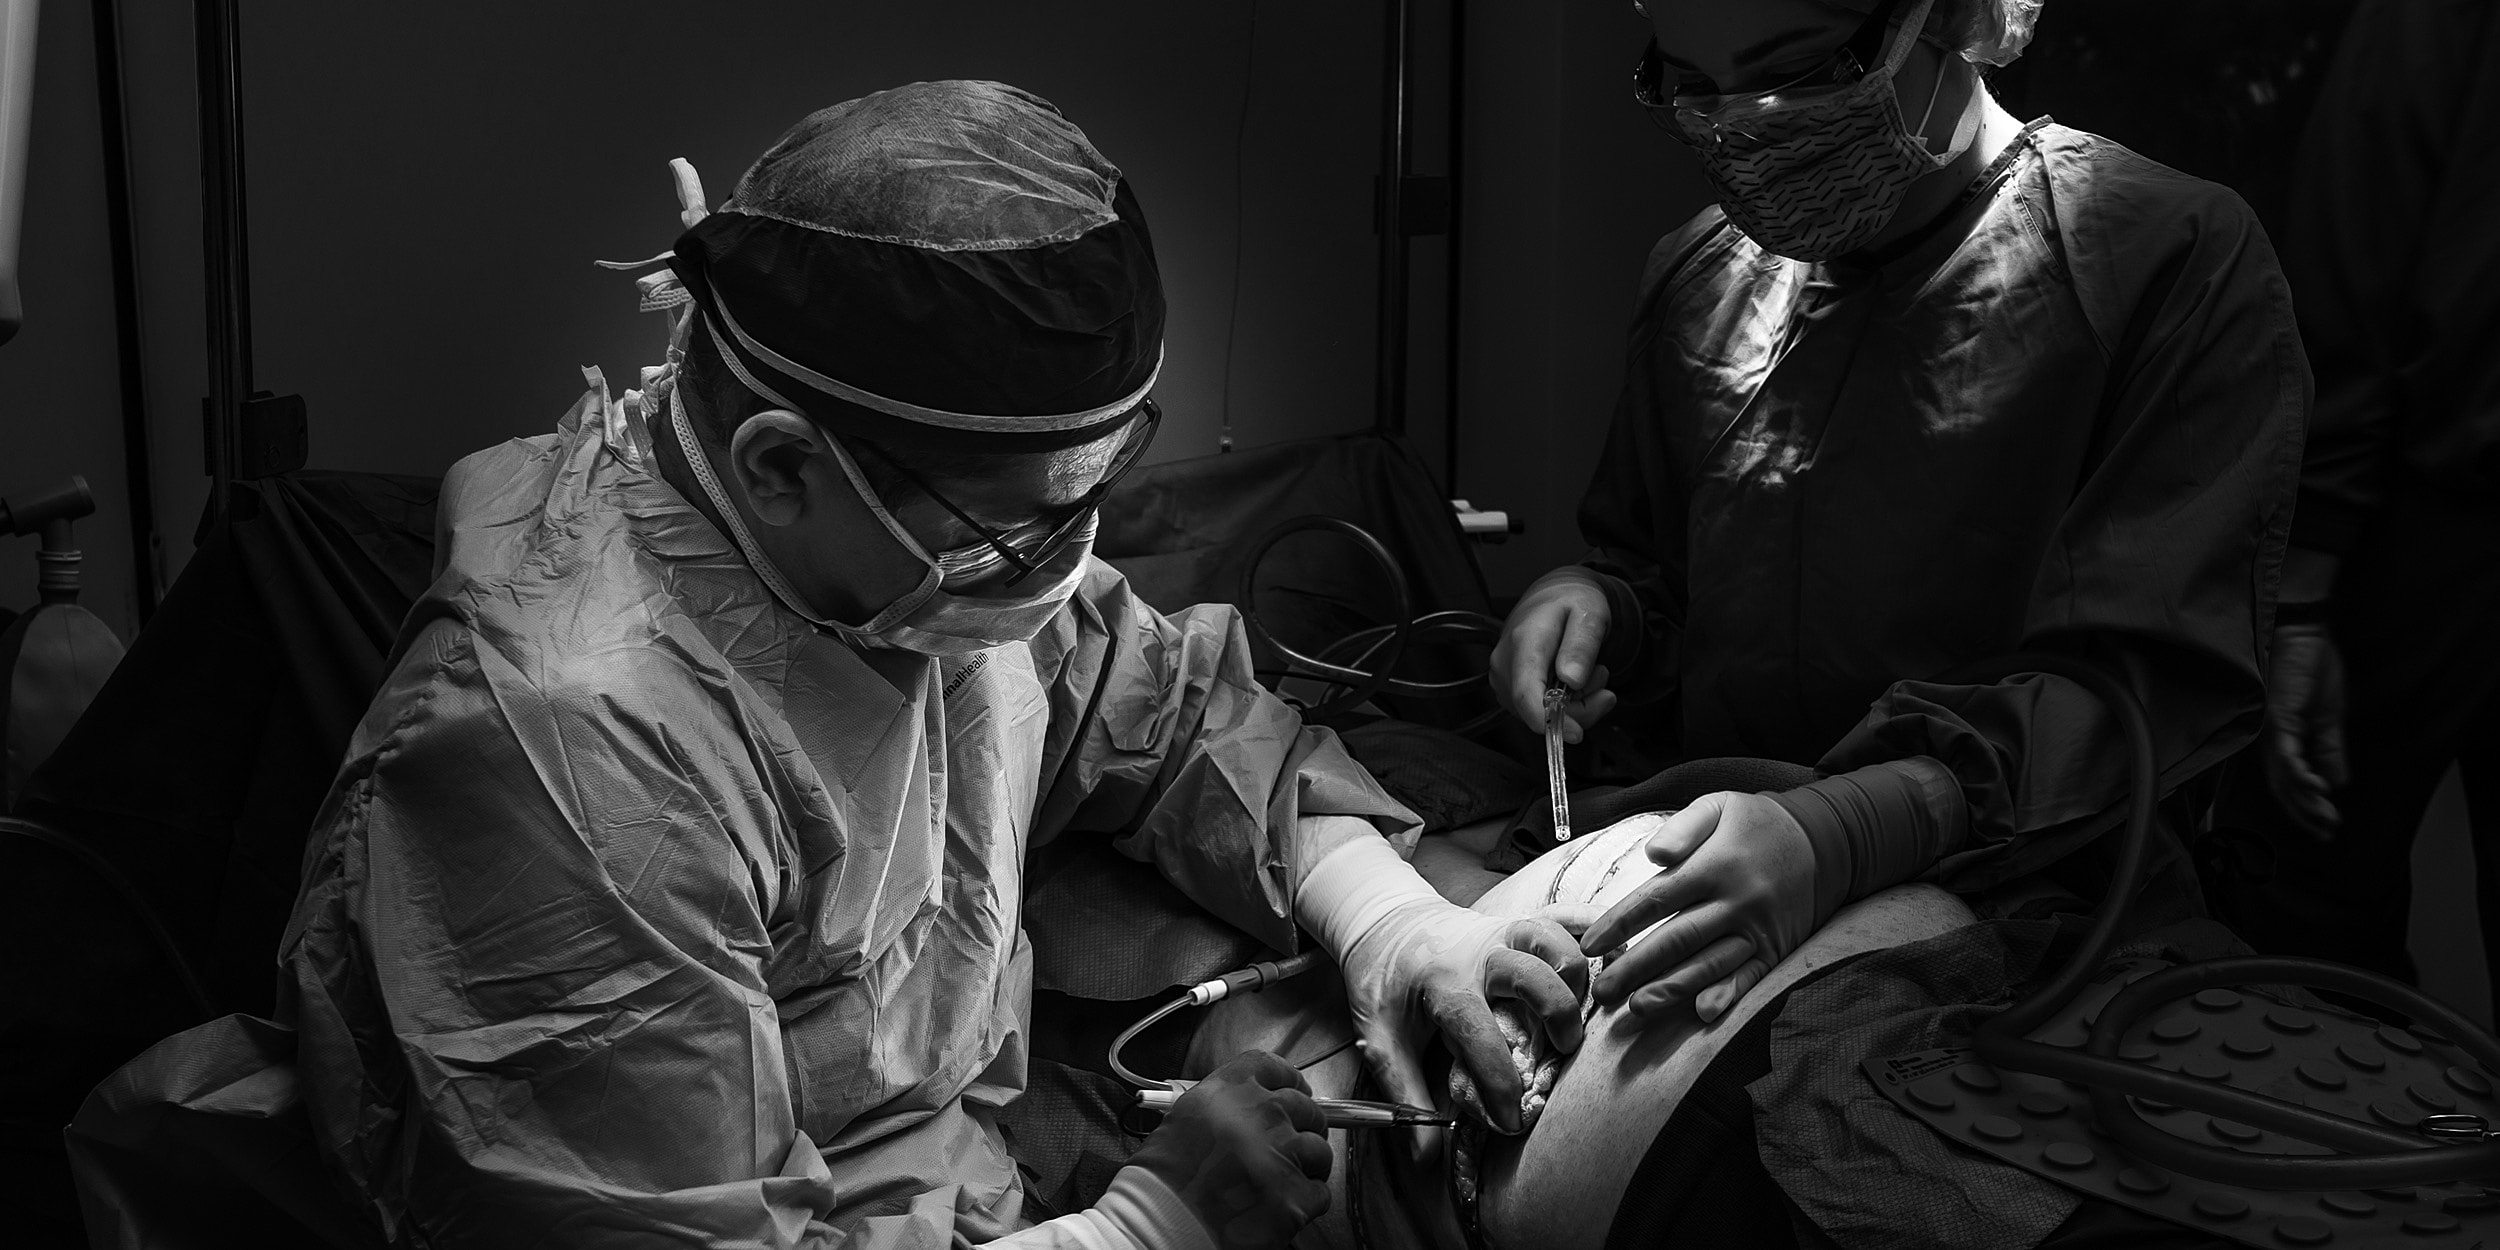
SURGERY INFORMATION:
LEARN MORE ABOUT: Breast Lift, Secondary Breast Augmentation, Upper Body Lift, Revision Plastic Surgery, Breast Implant Complications, Breast Asymmetry Correction
PATIENT AGE: Early 70s
SURGEON: Dr. Siamak Agha MD, PhD, FACS
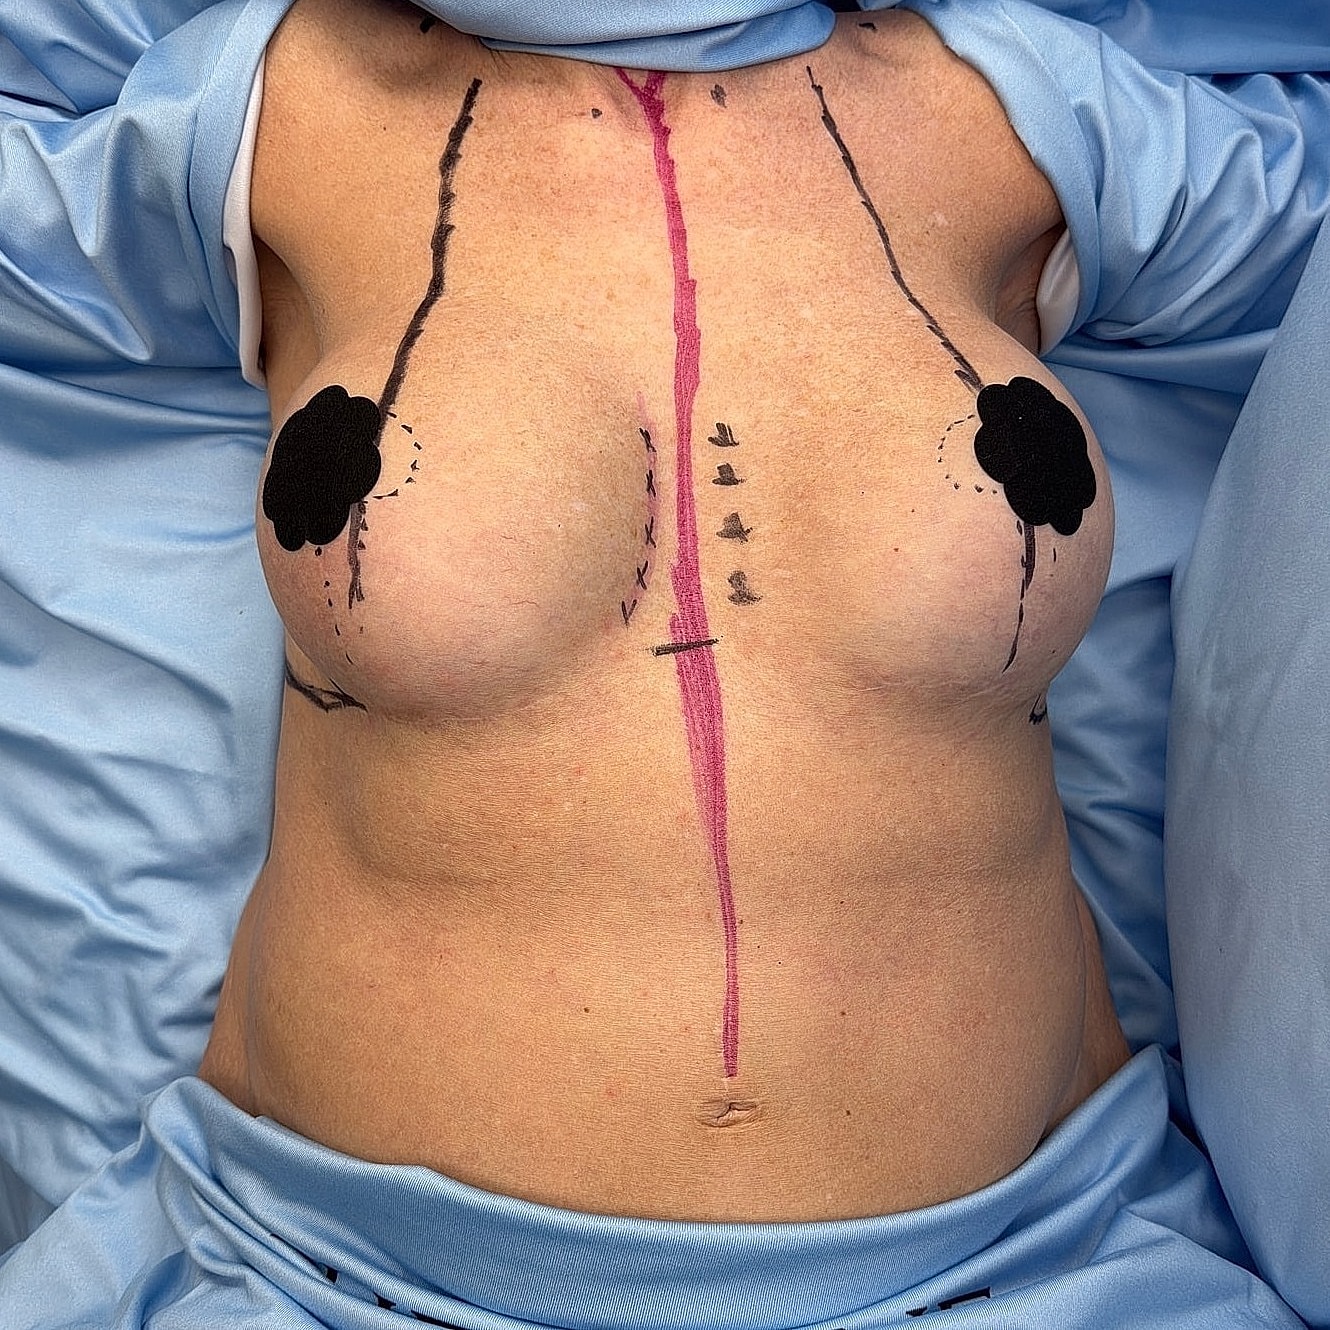
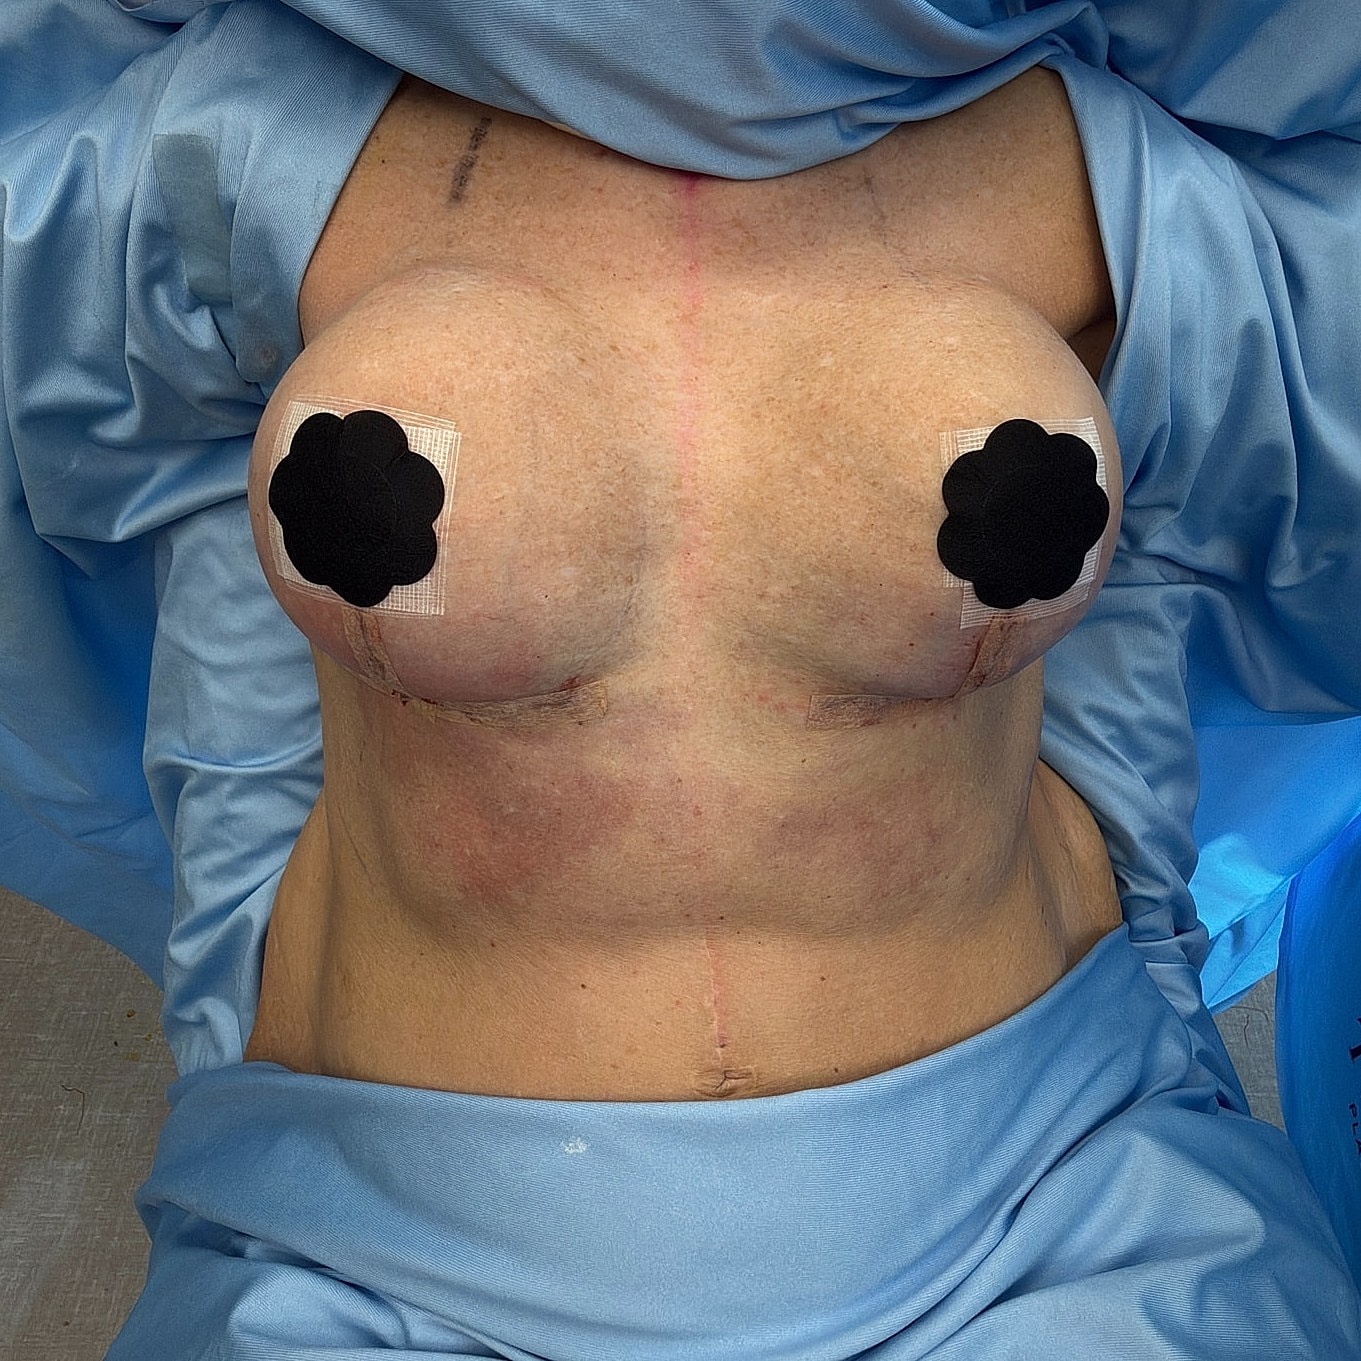
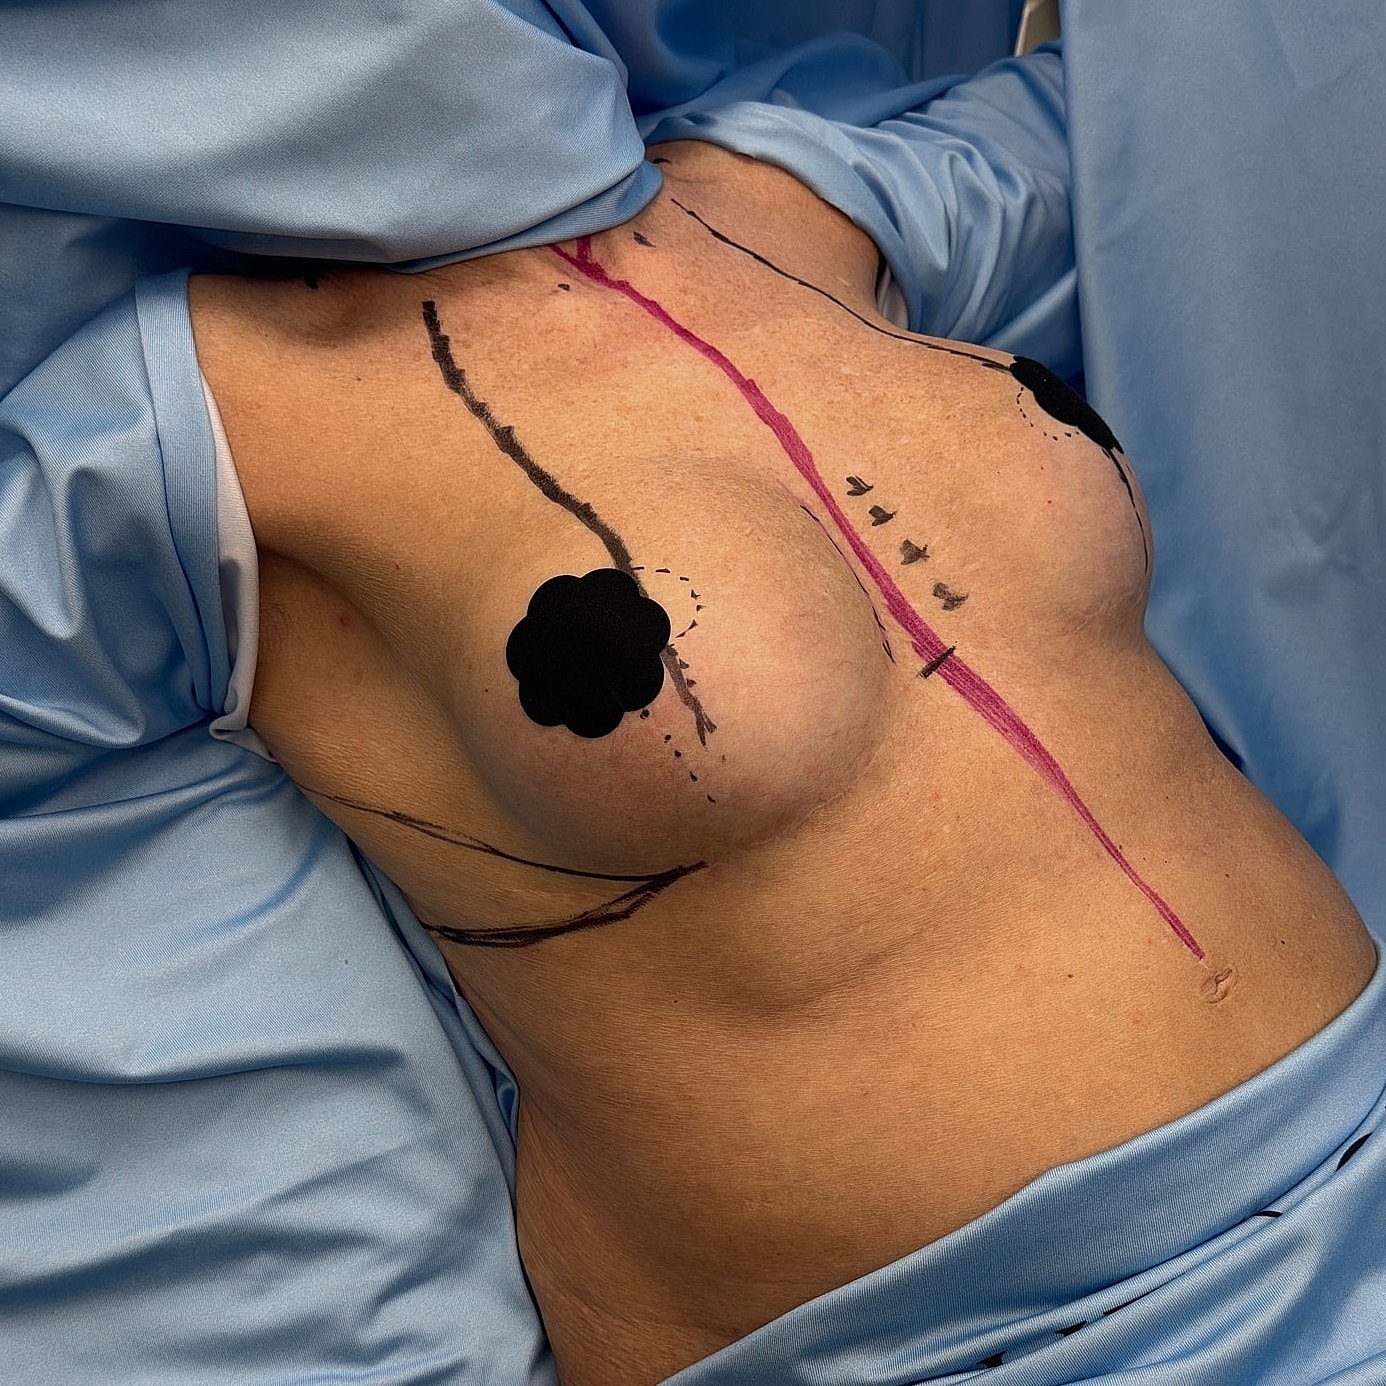
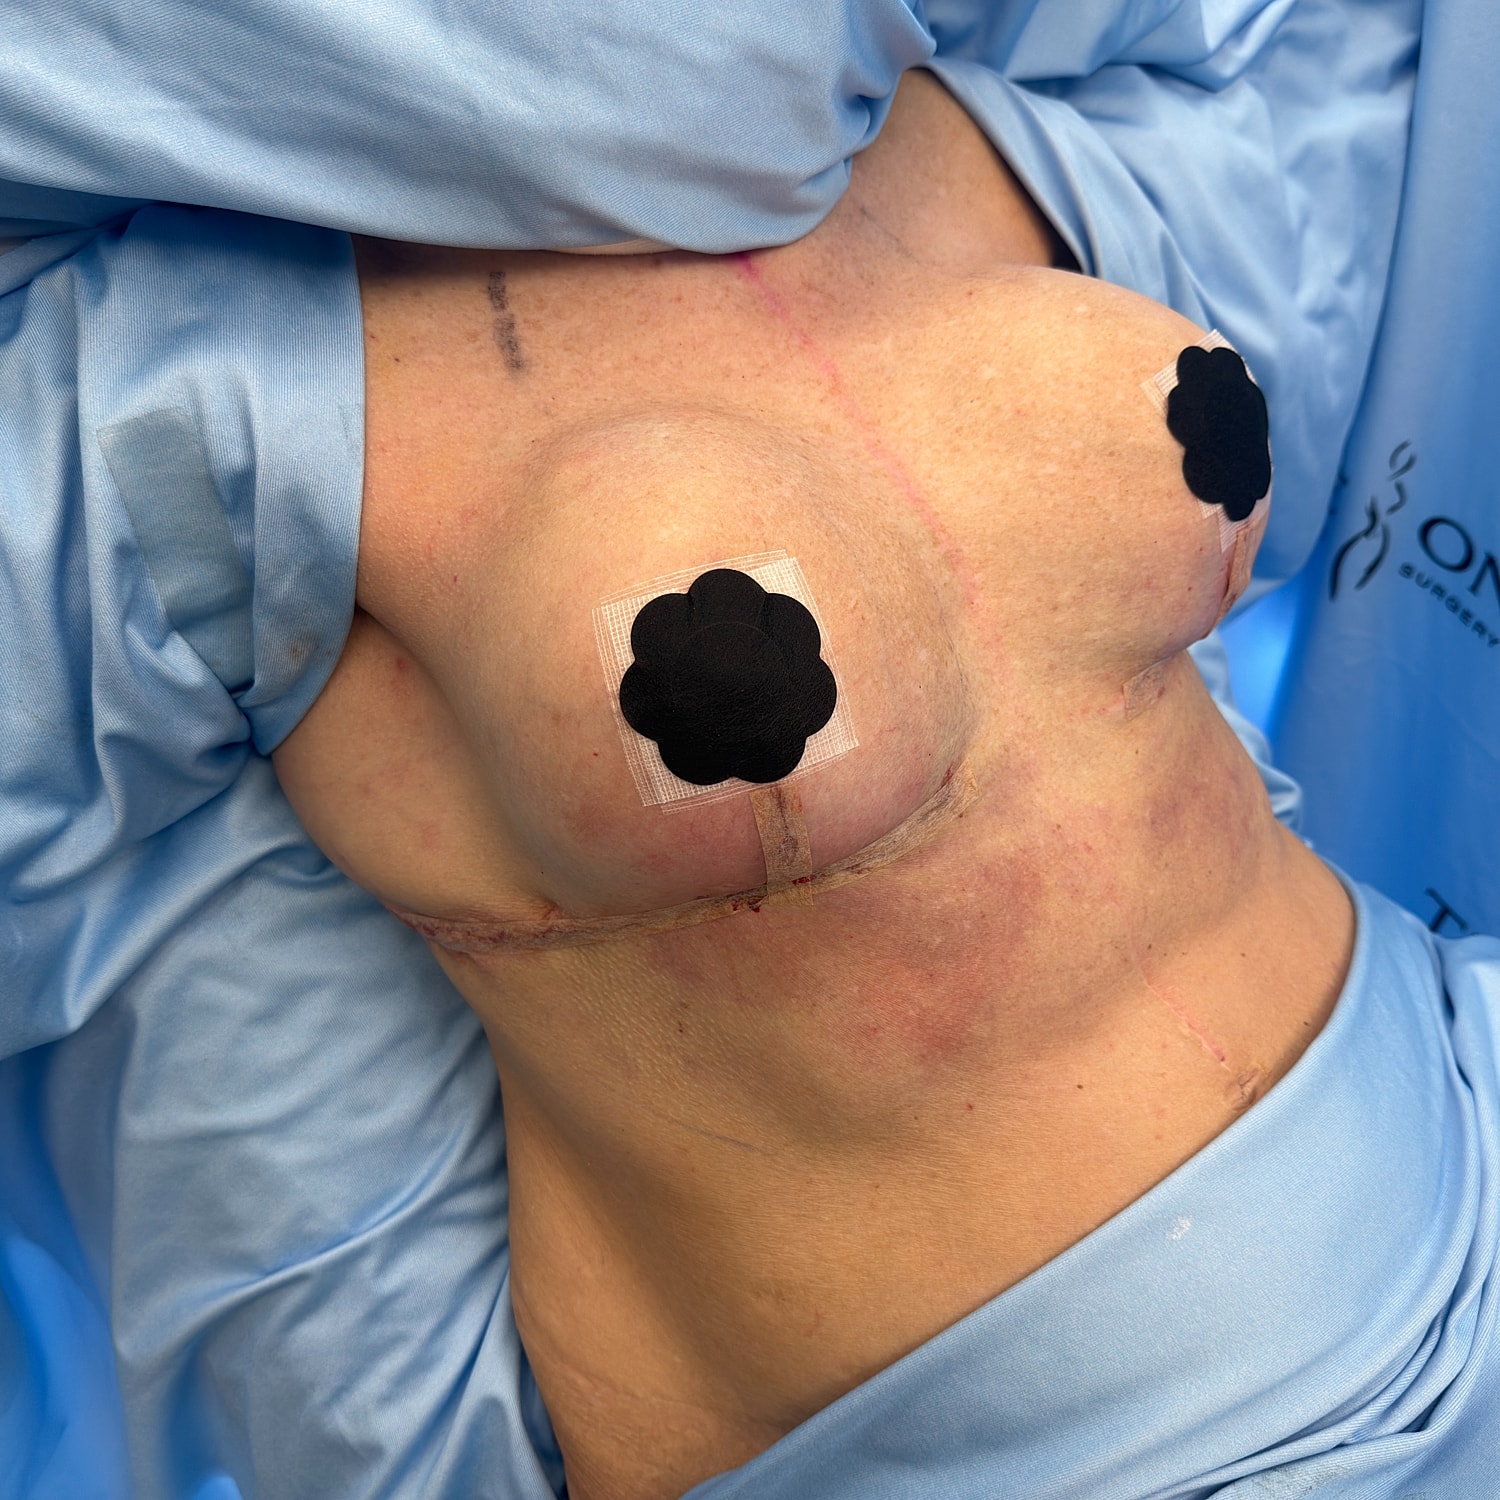
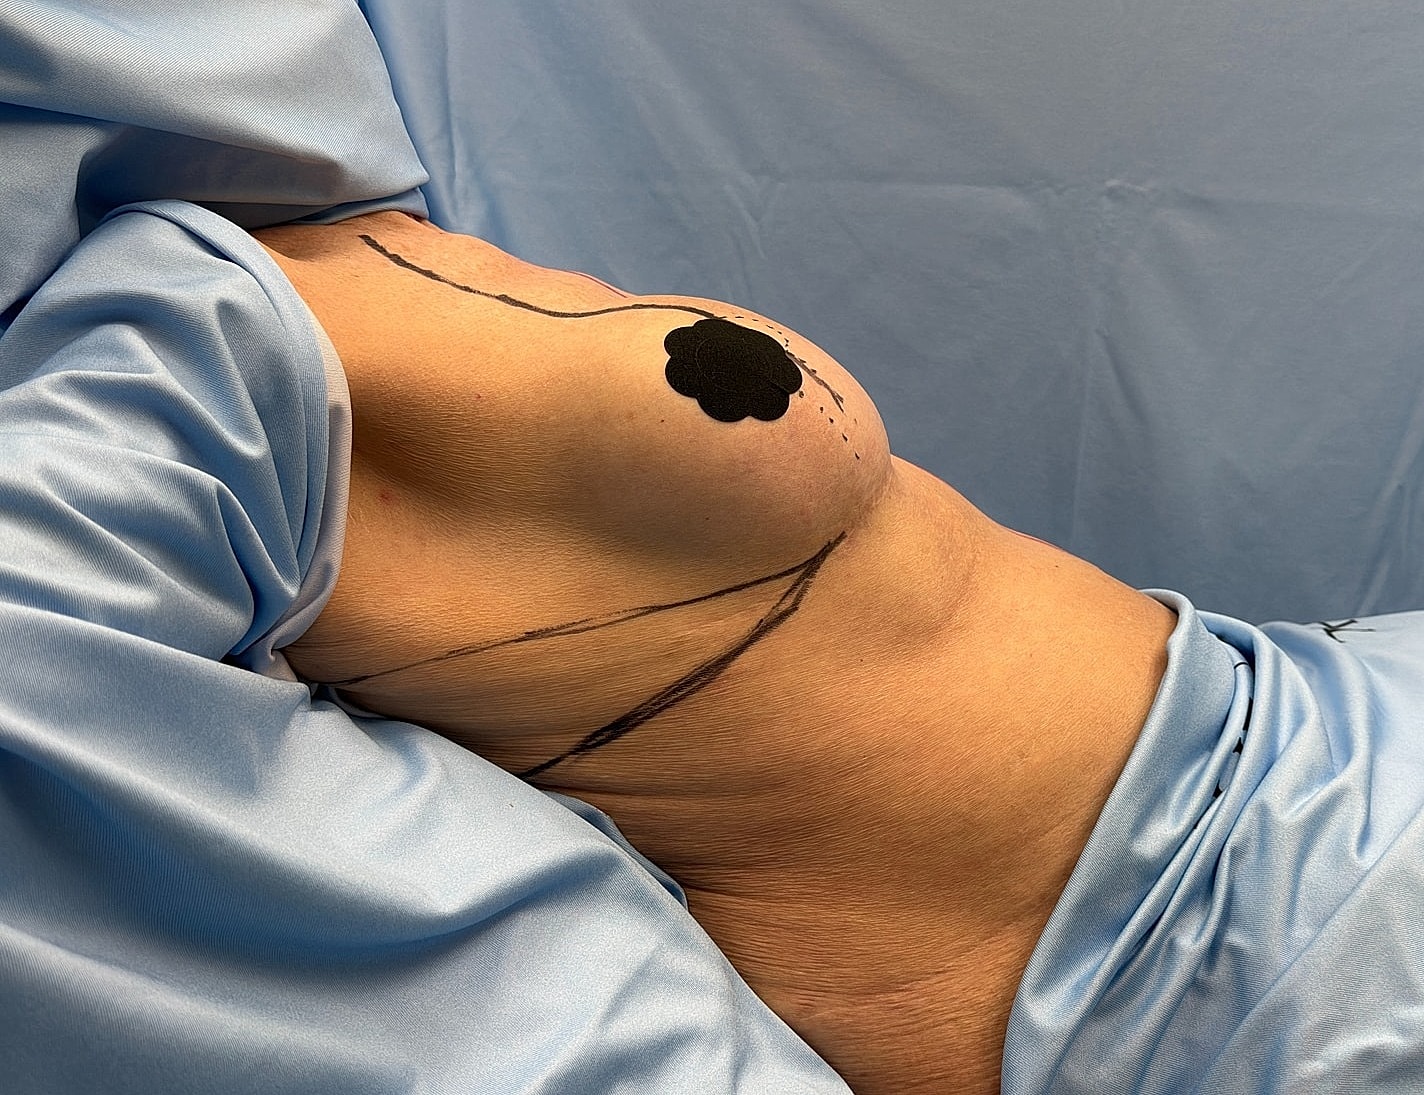
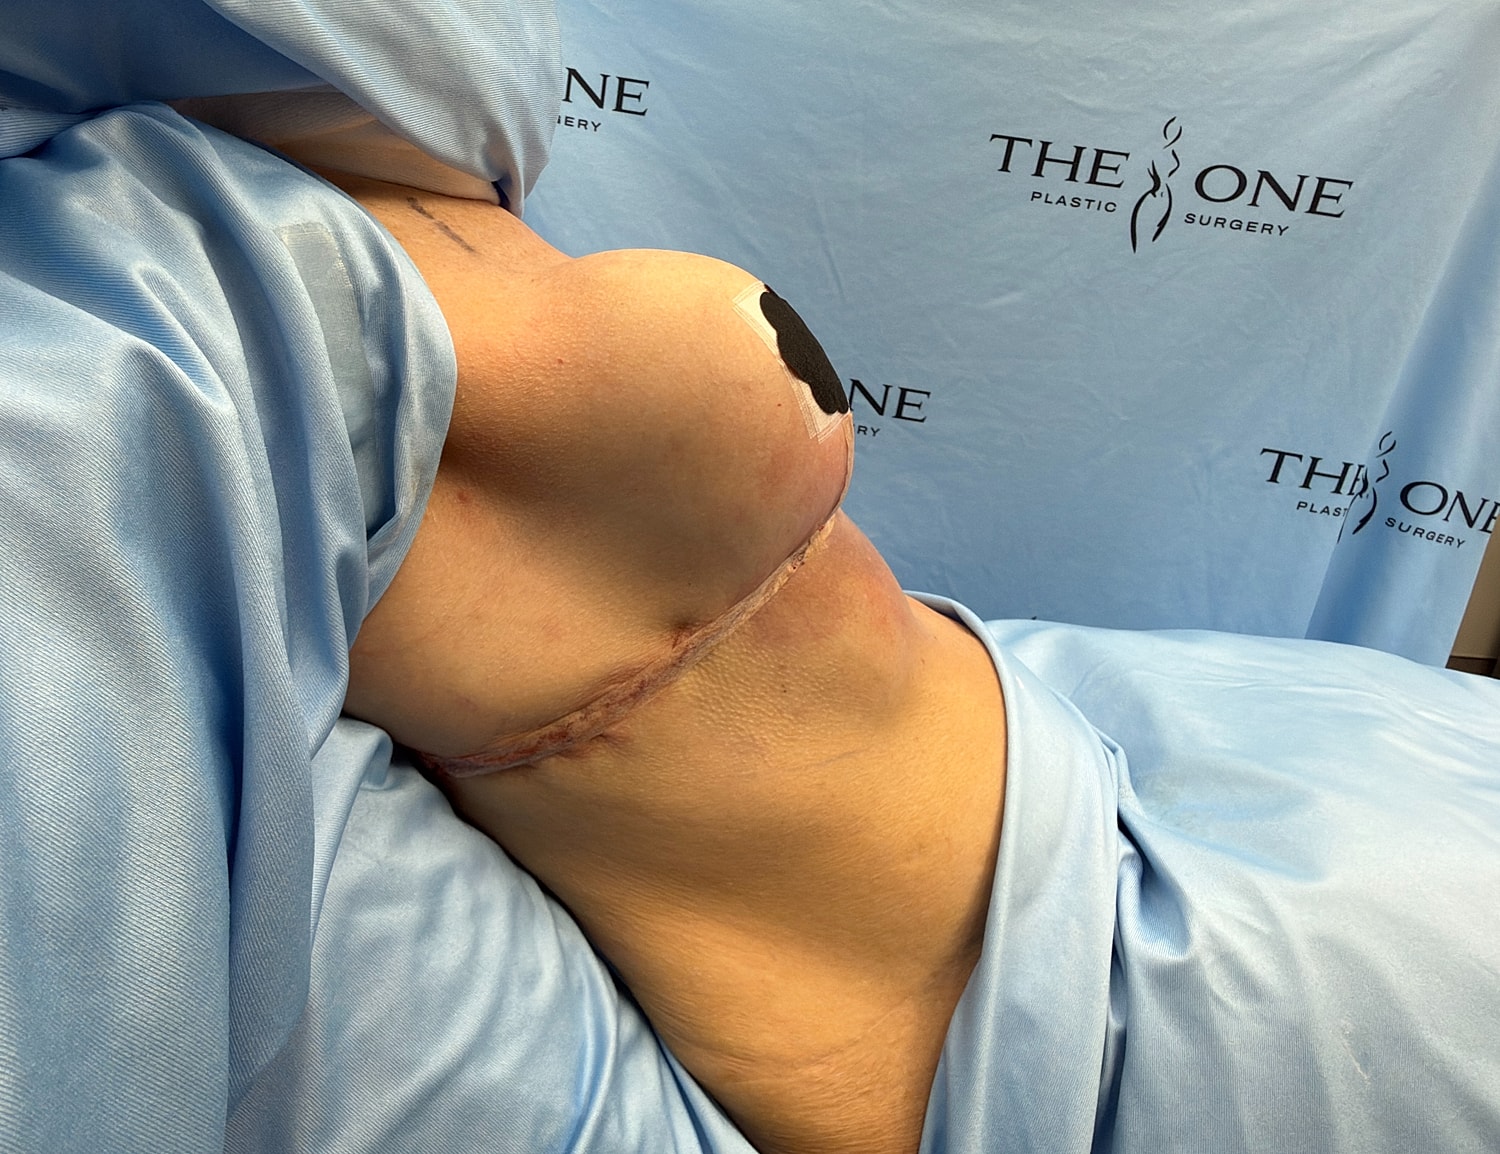
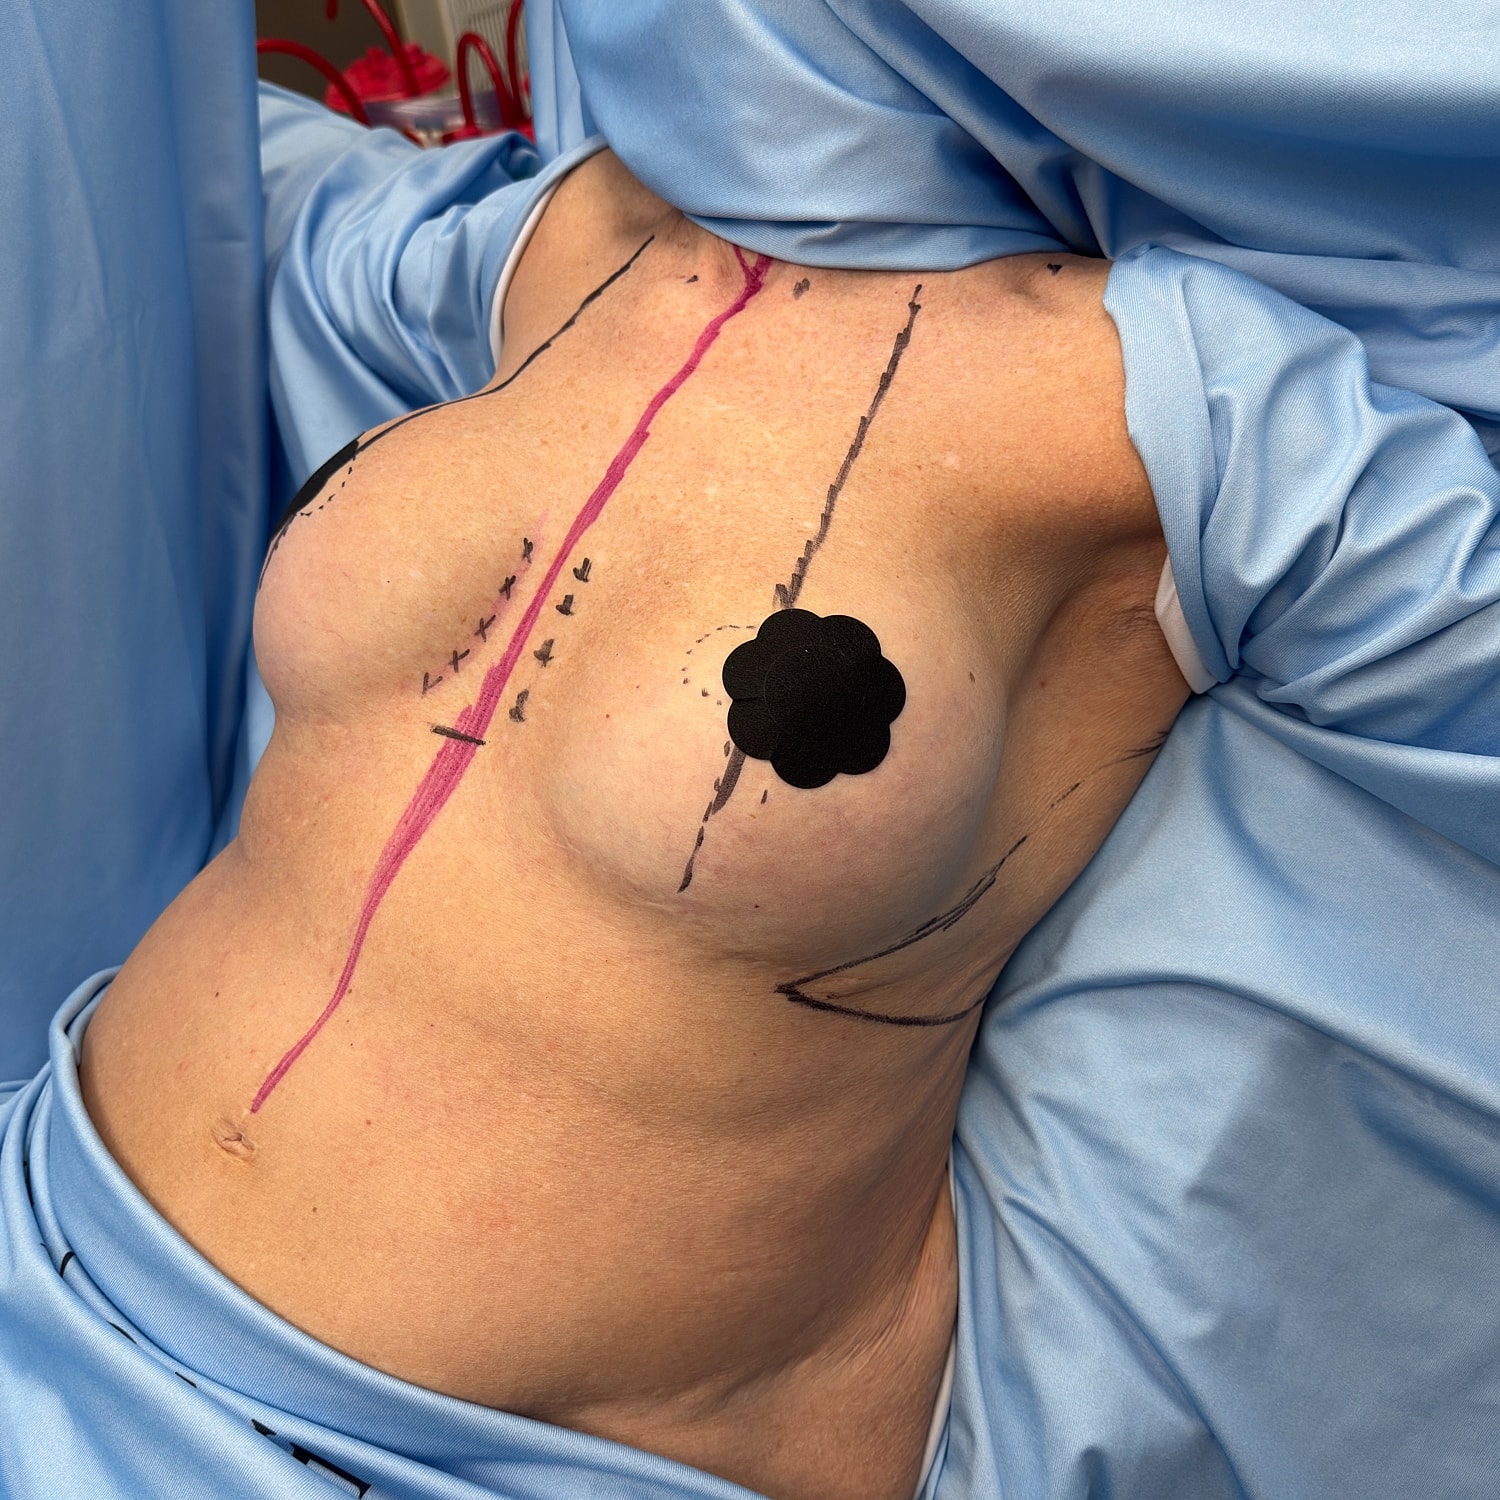
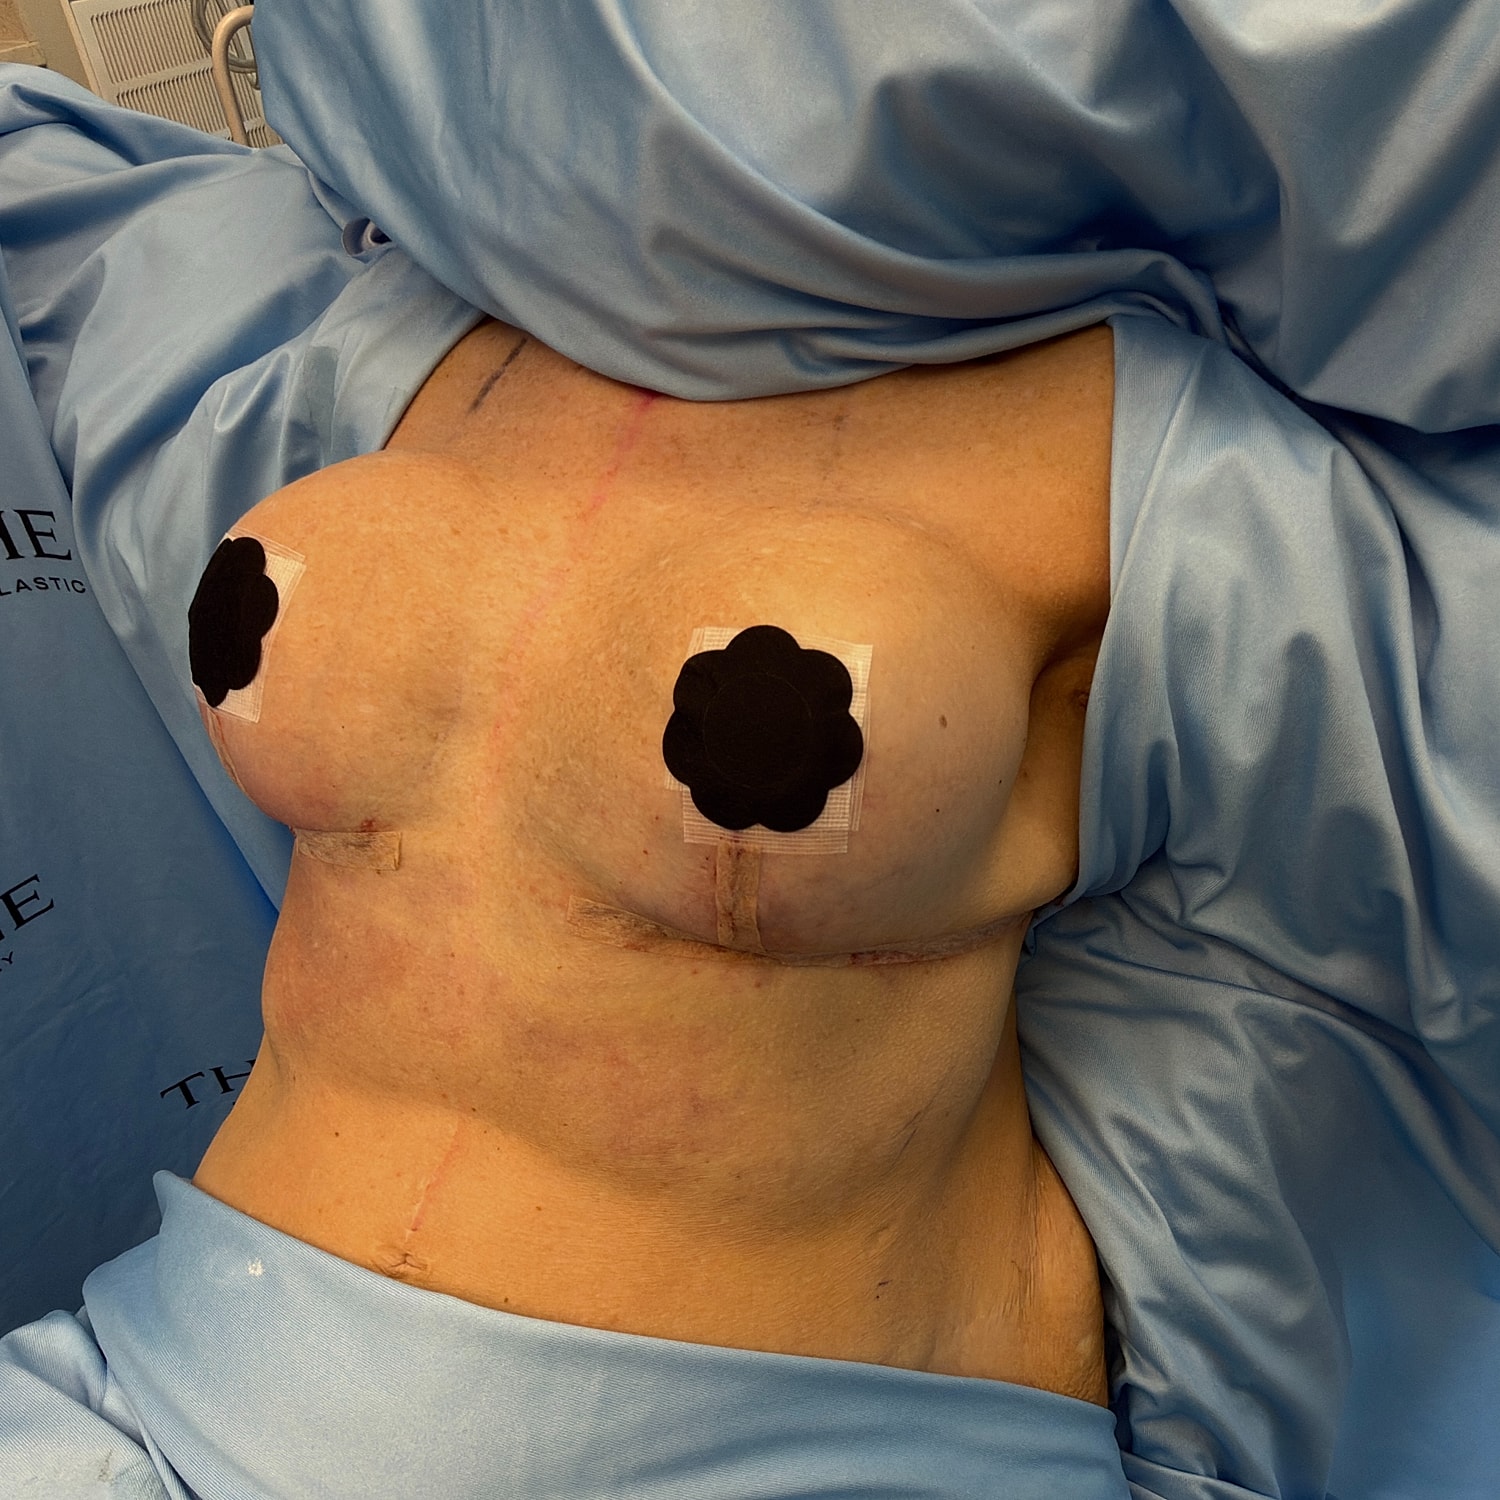
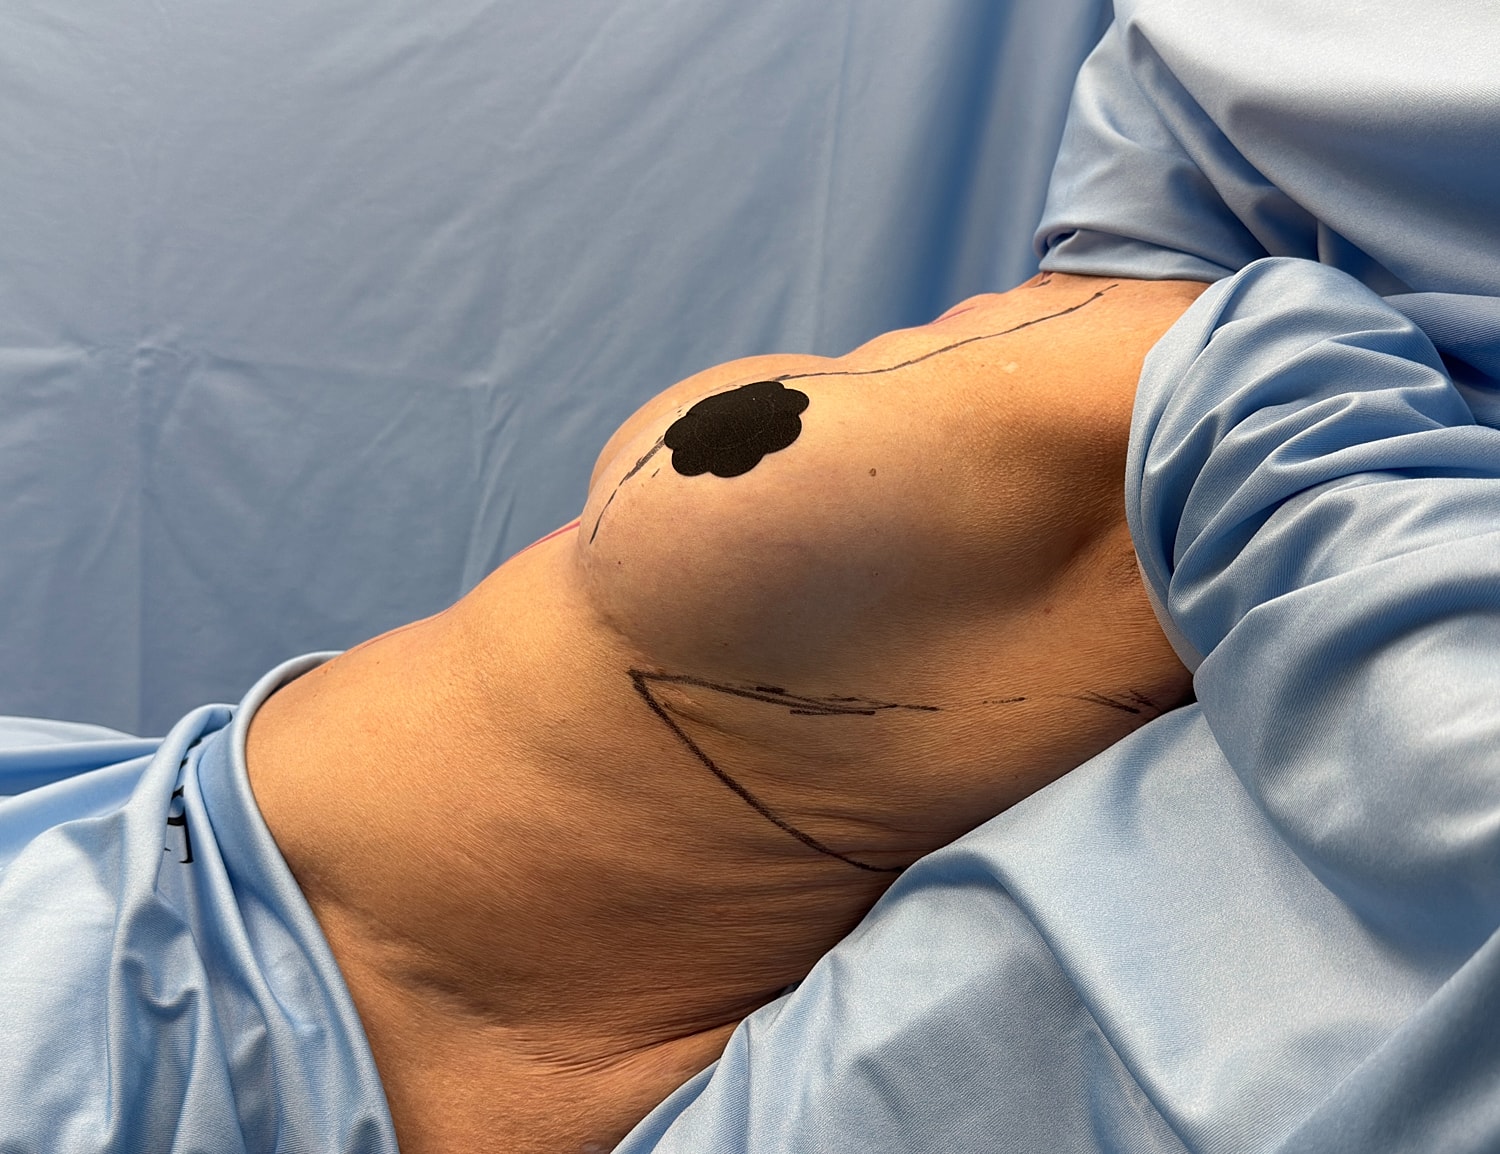
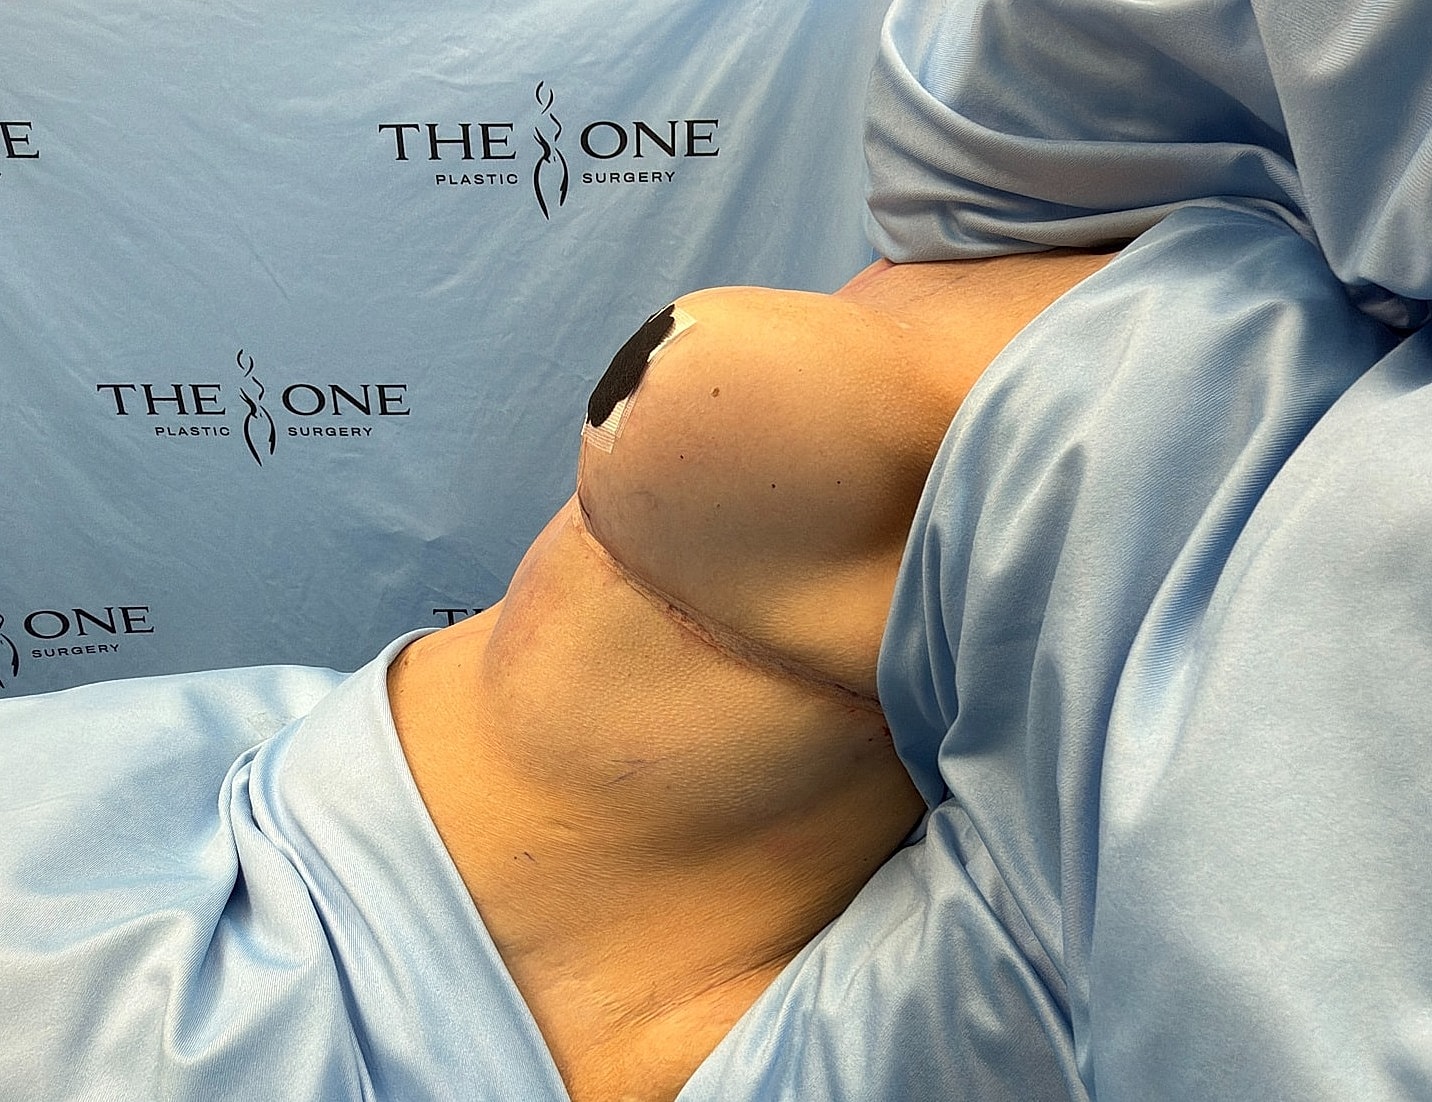
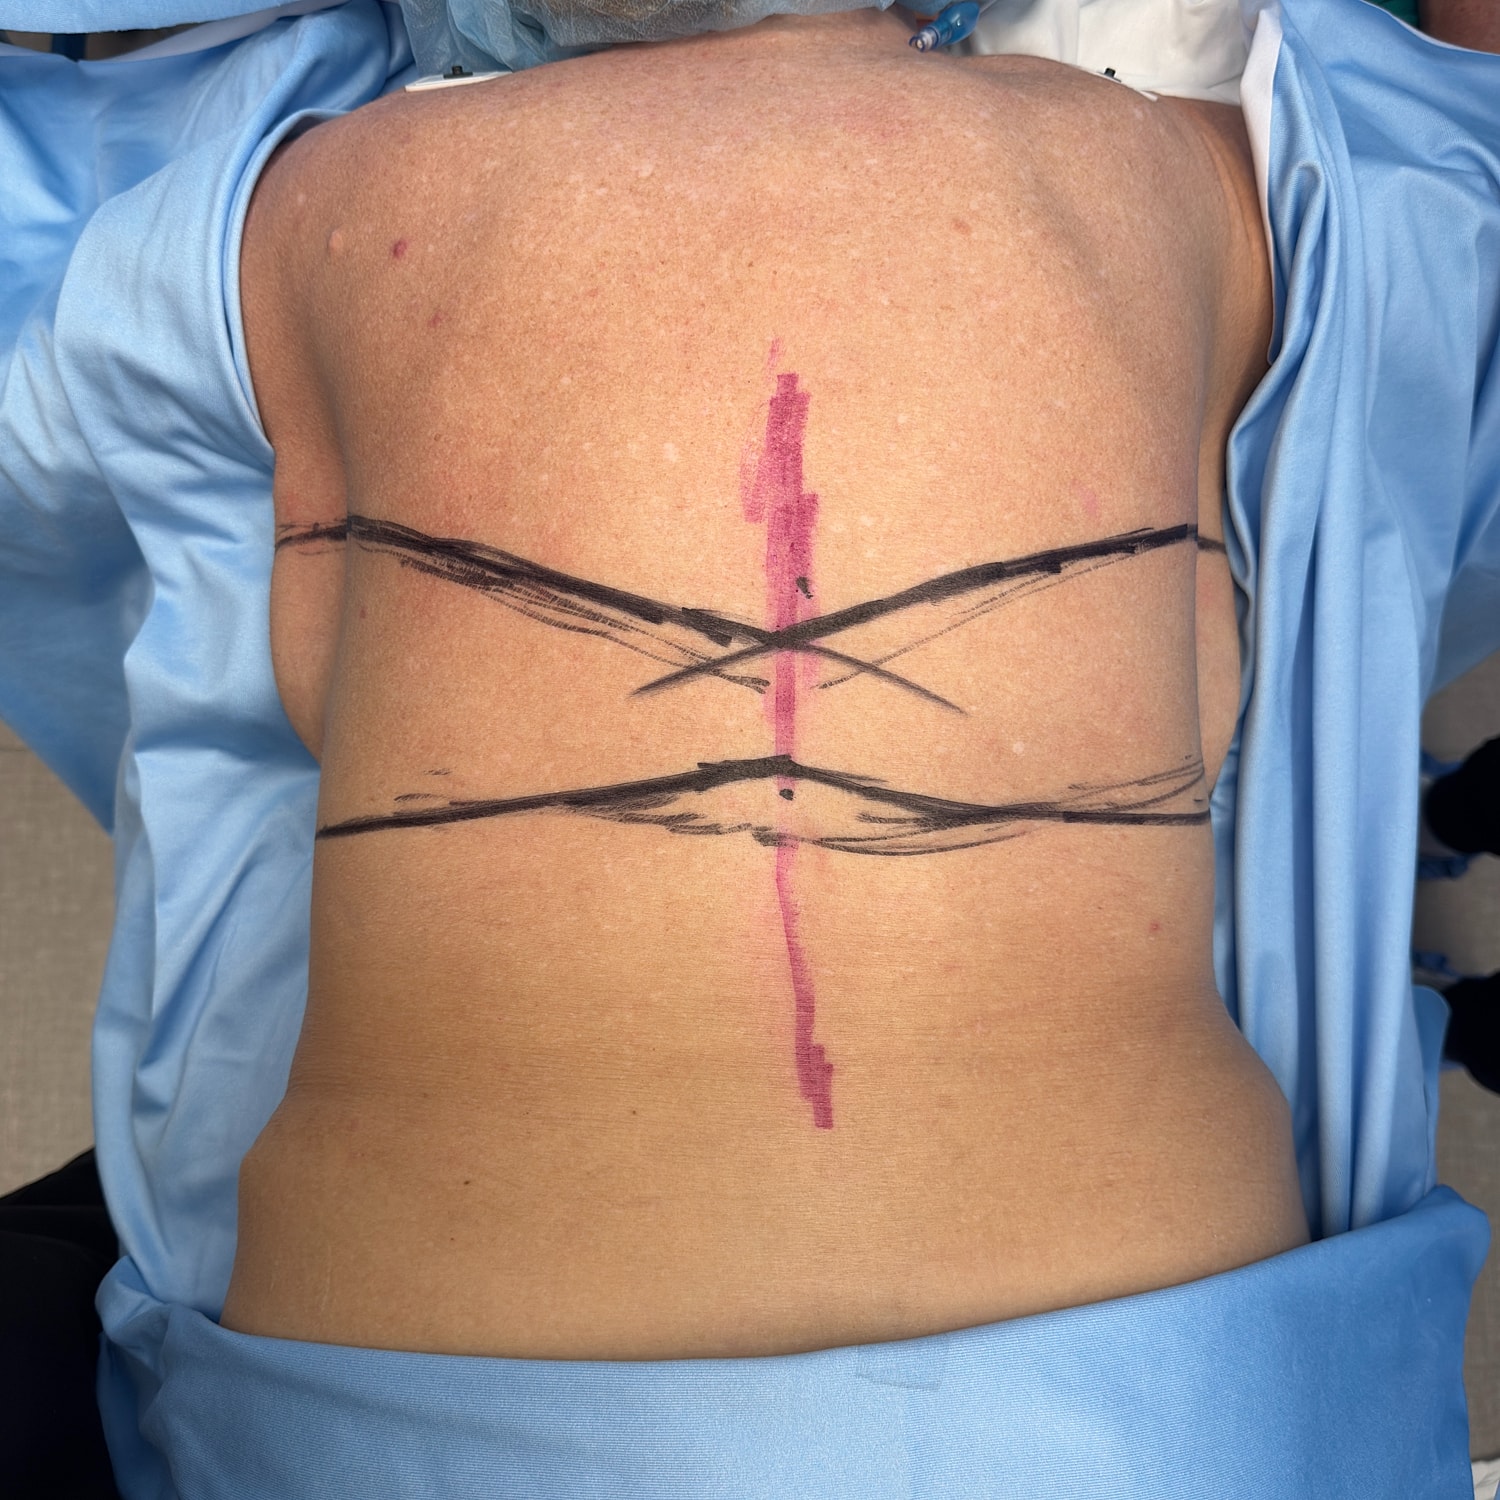
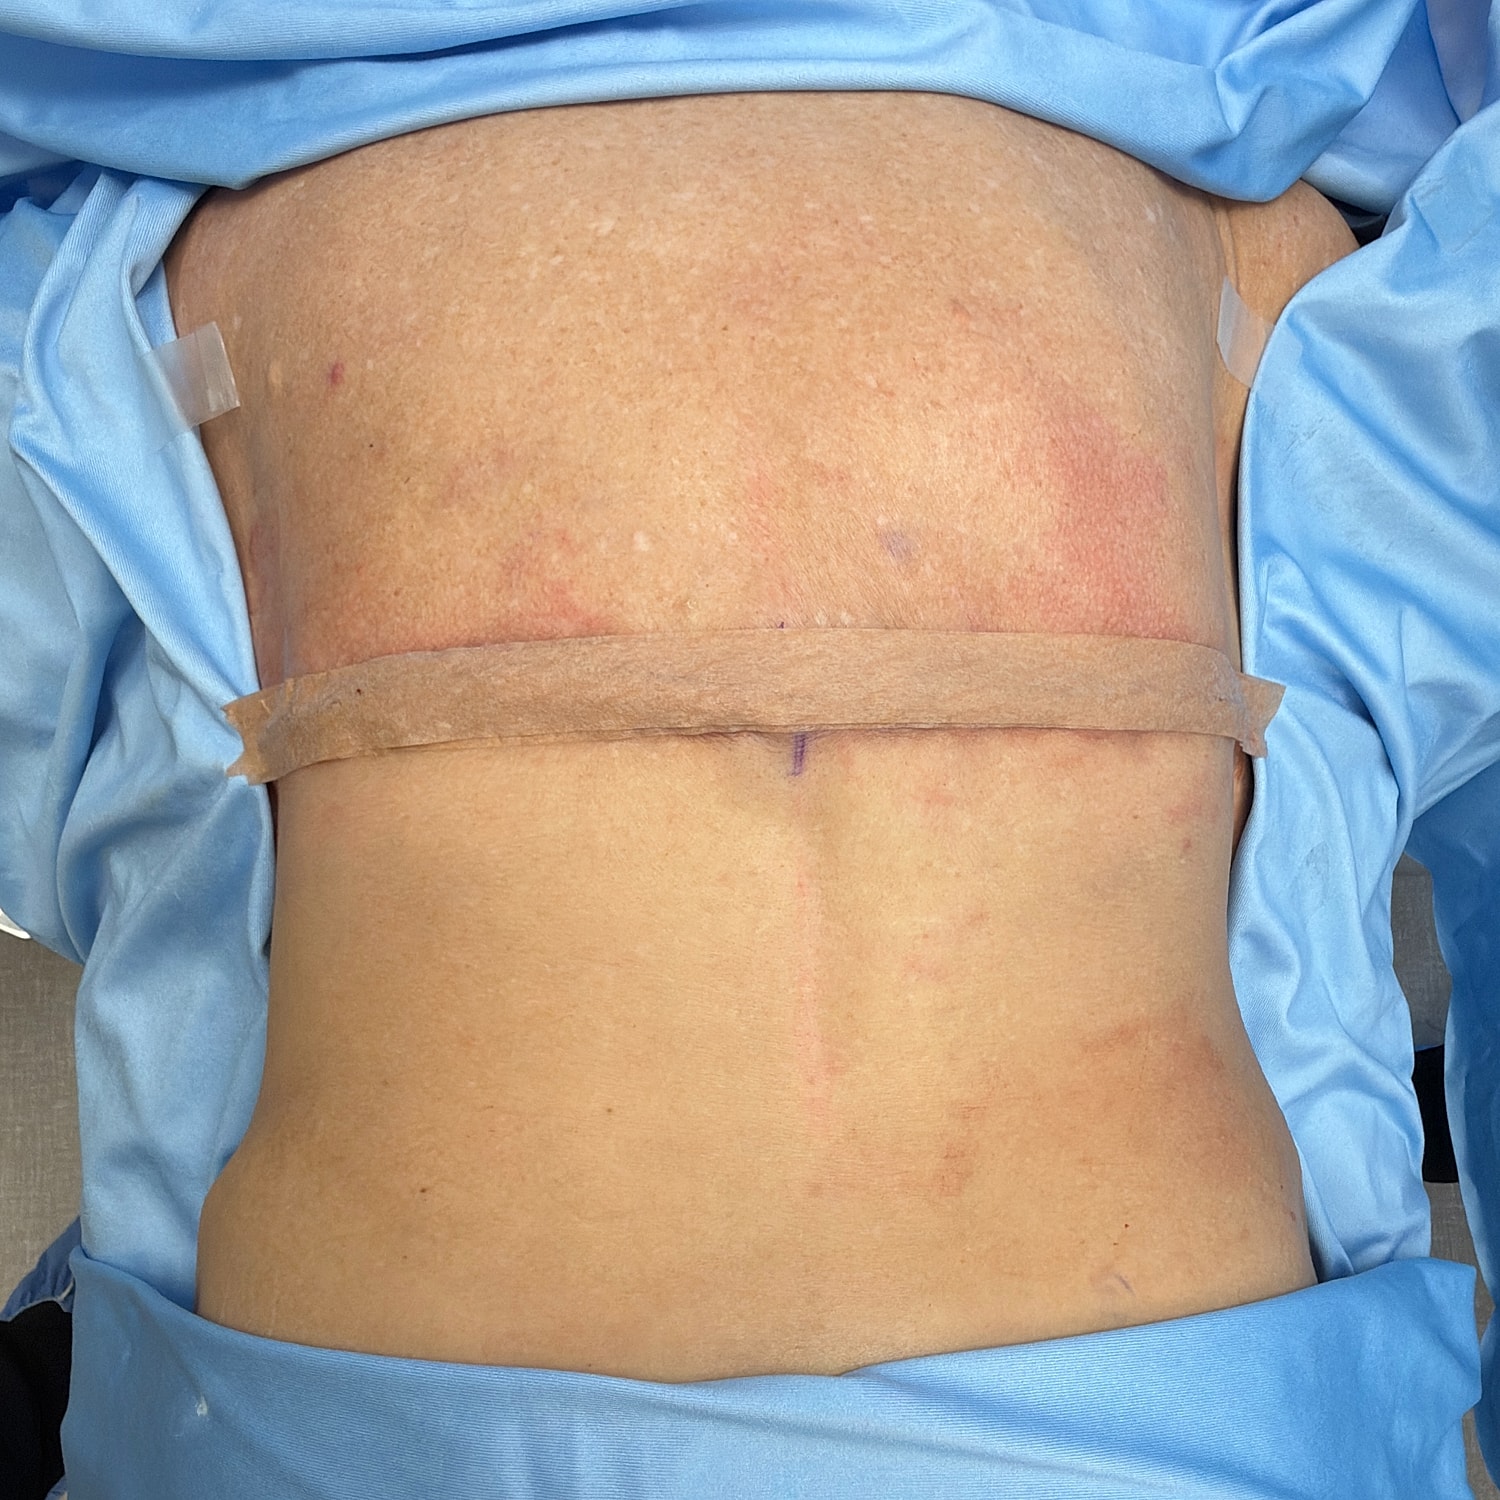
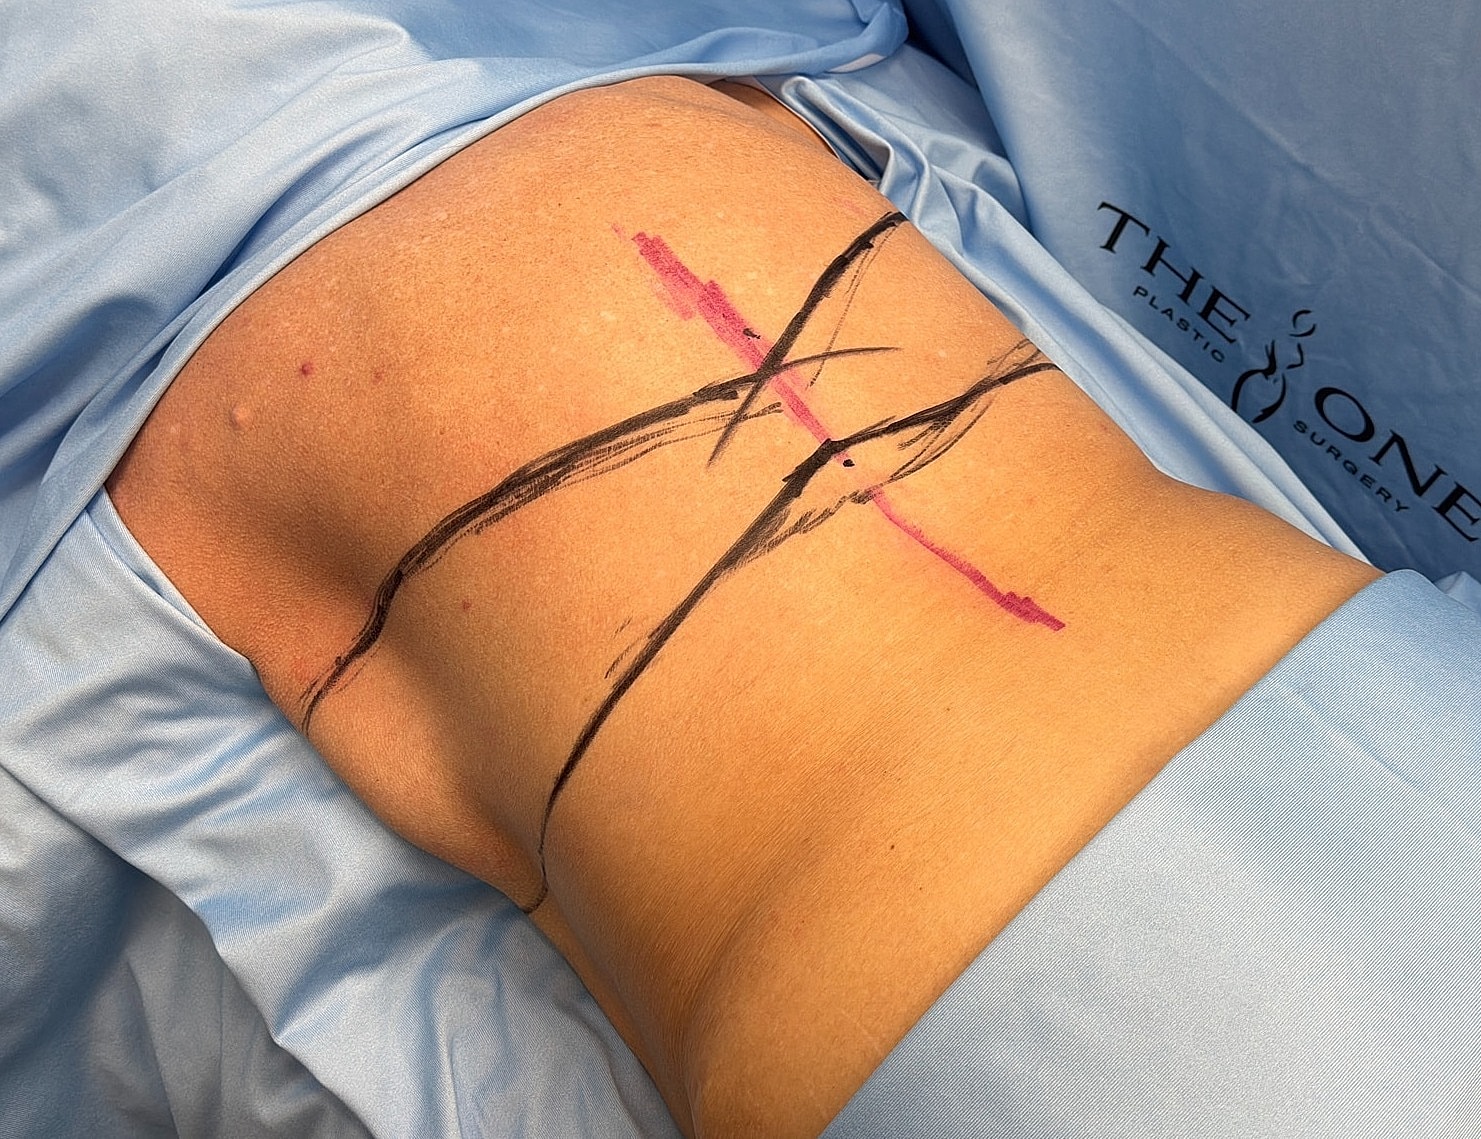
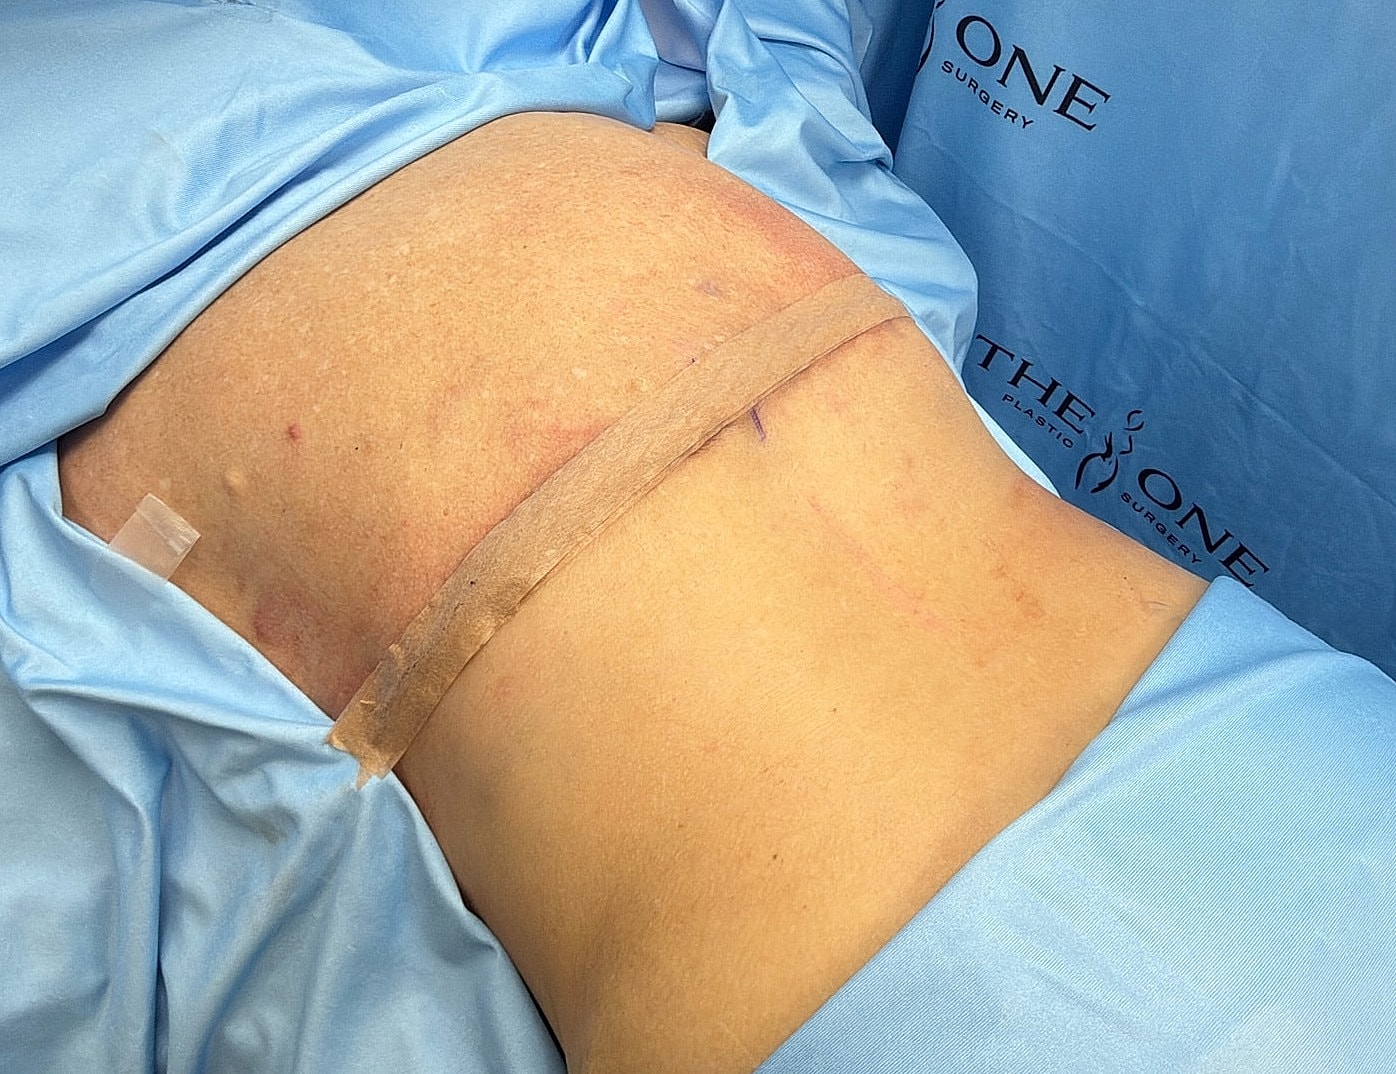
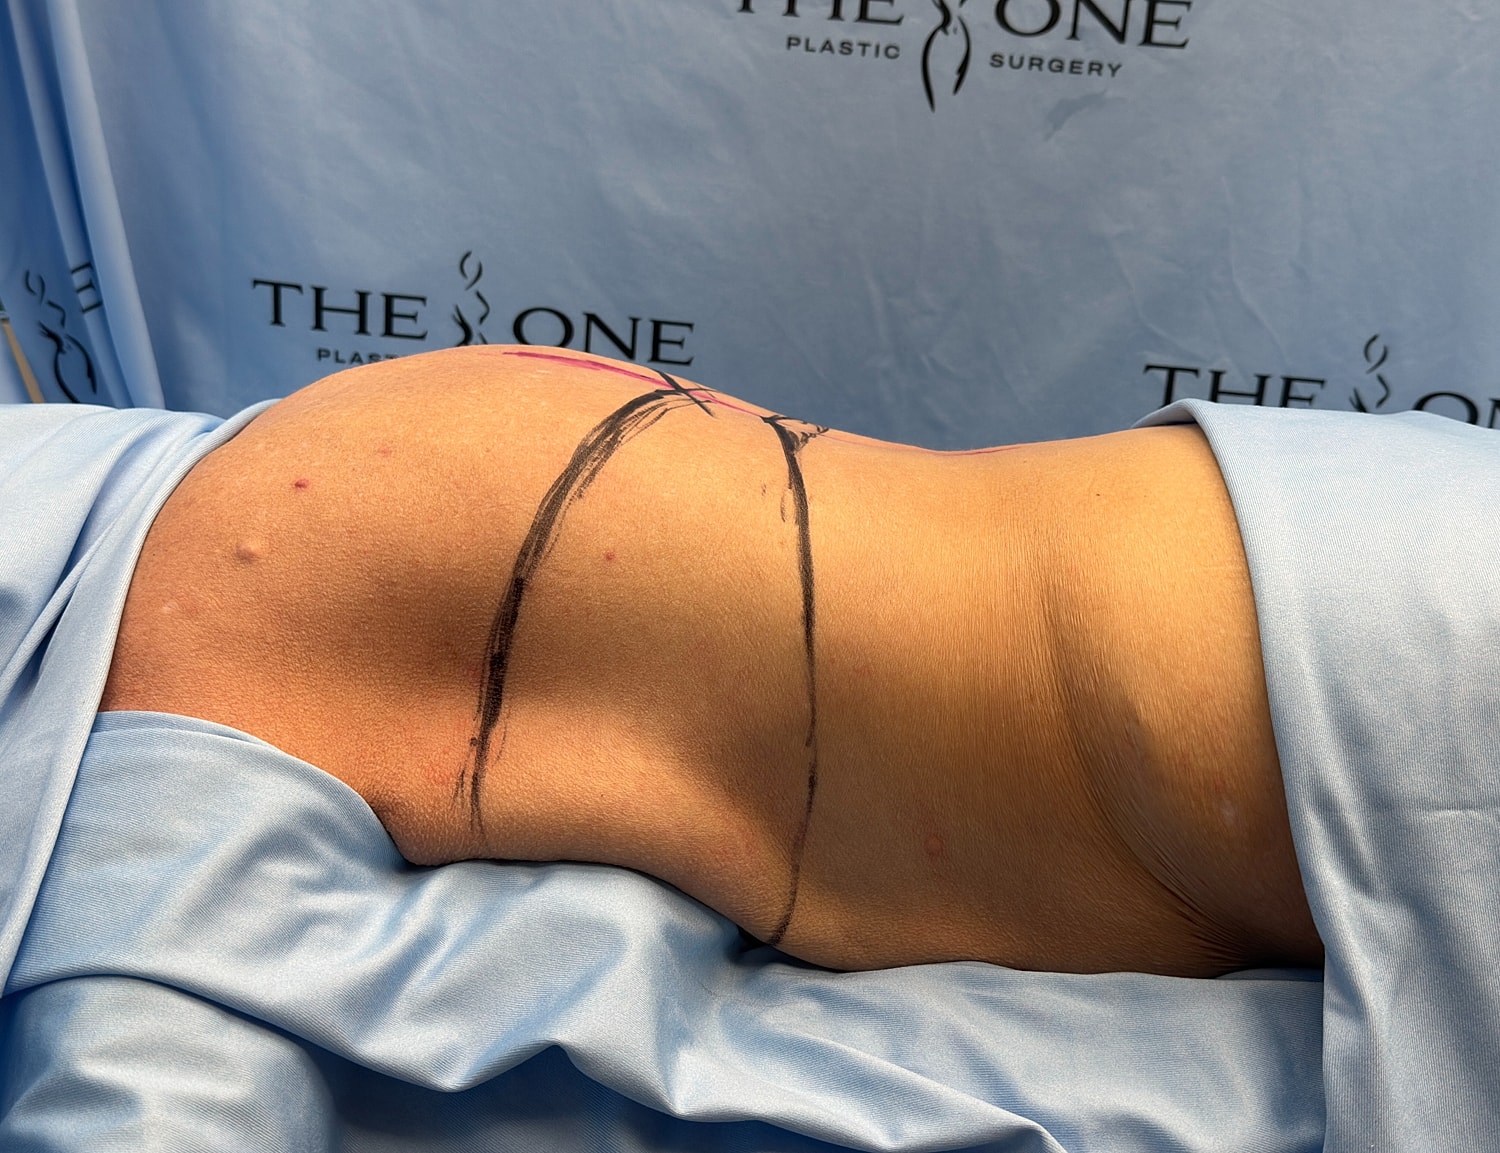
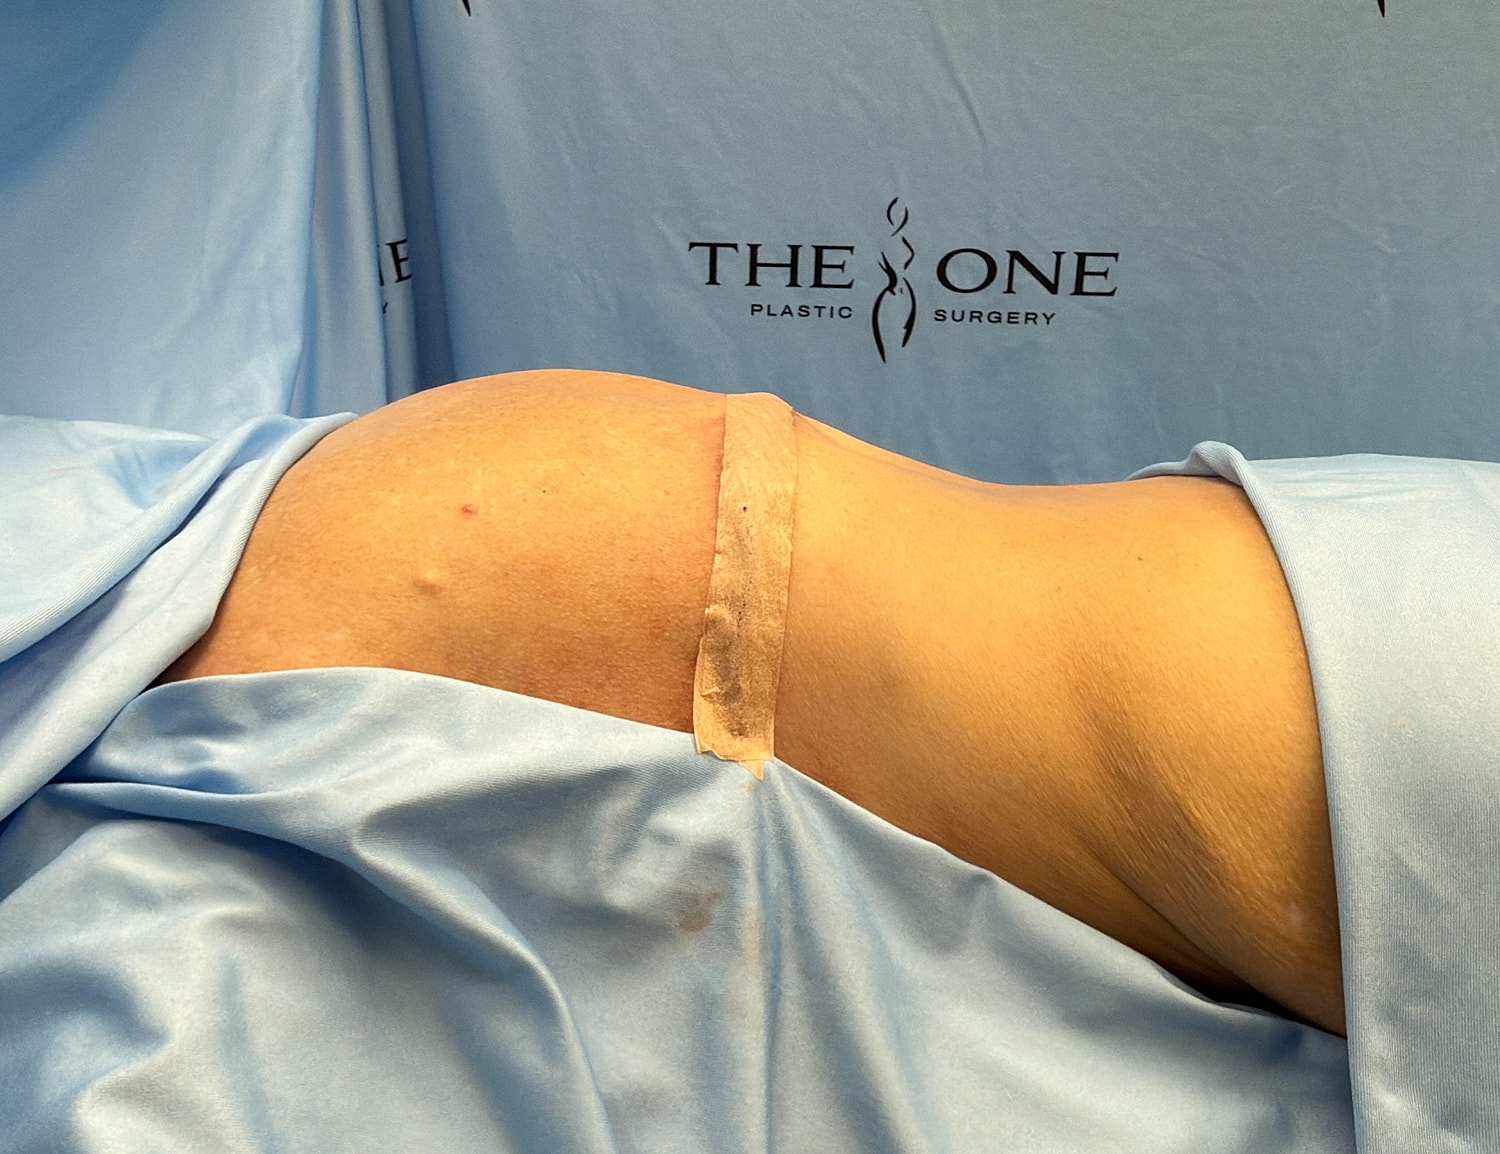
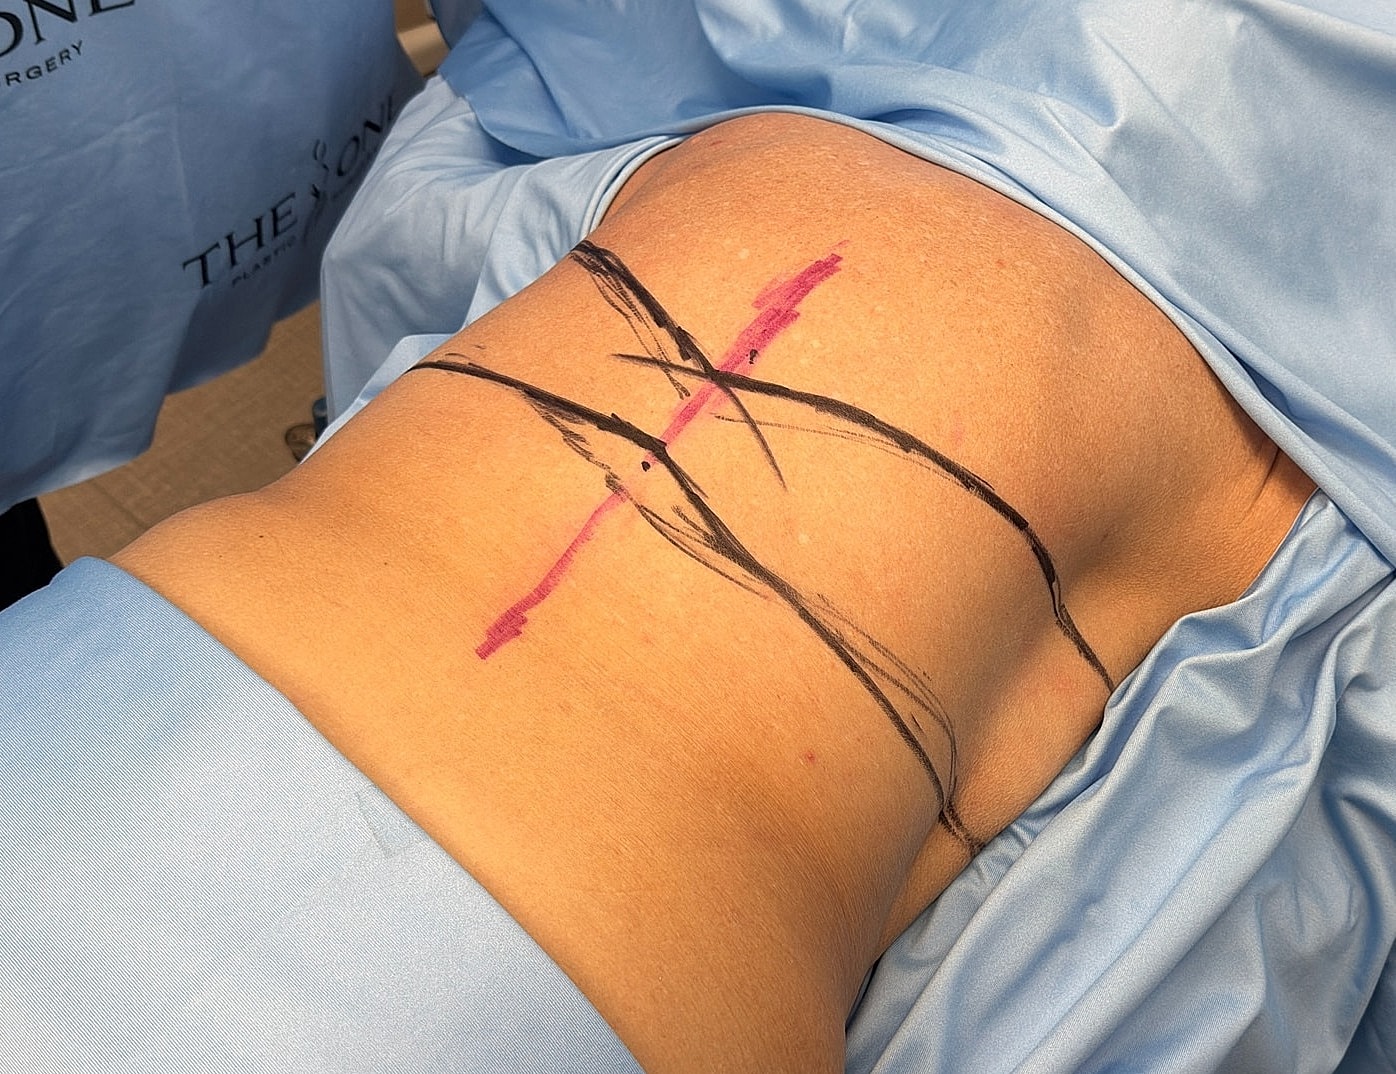
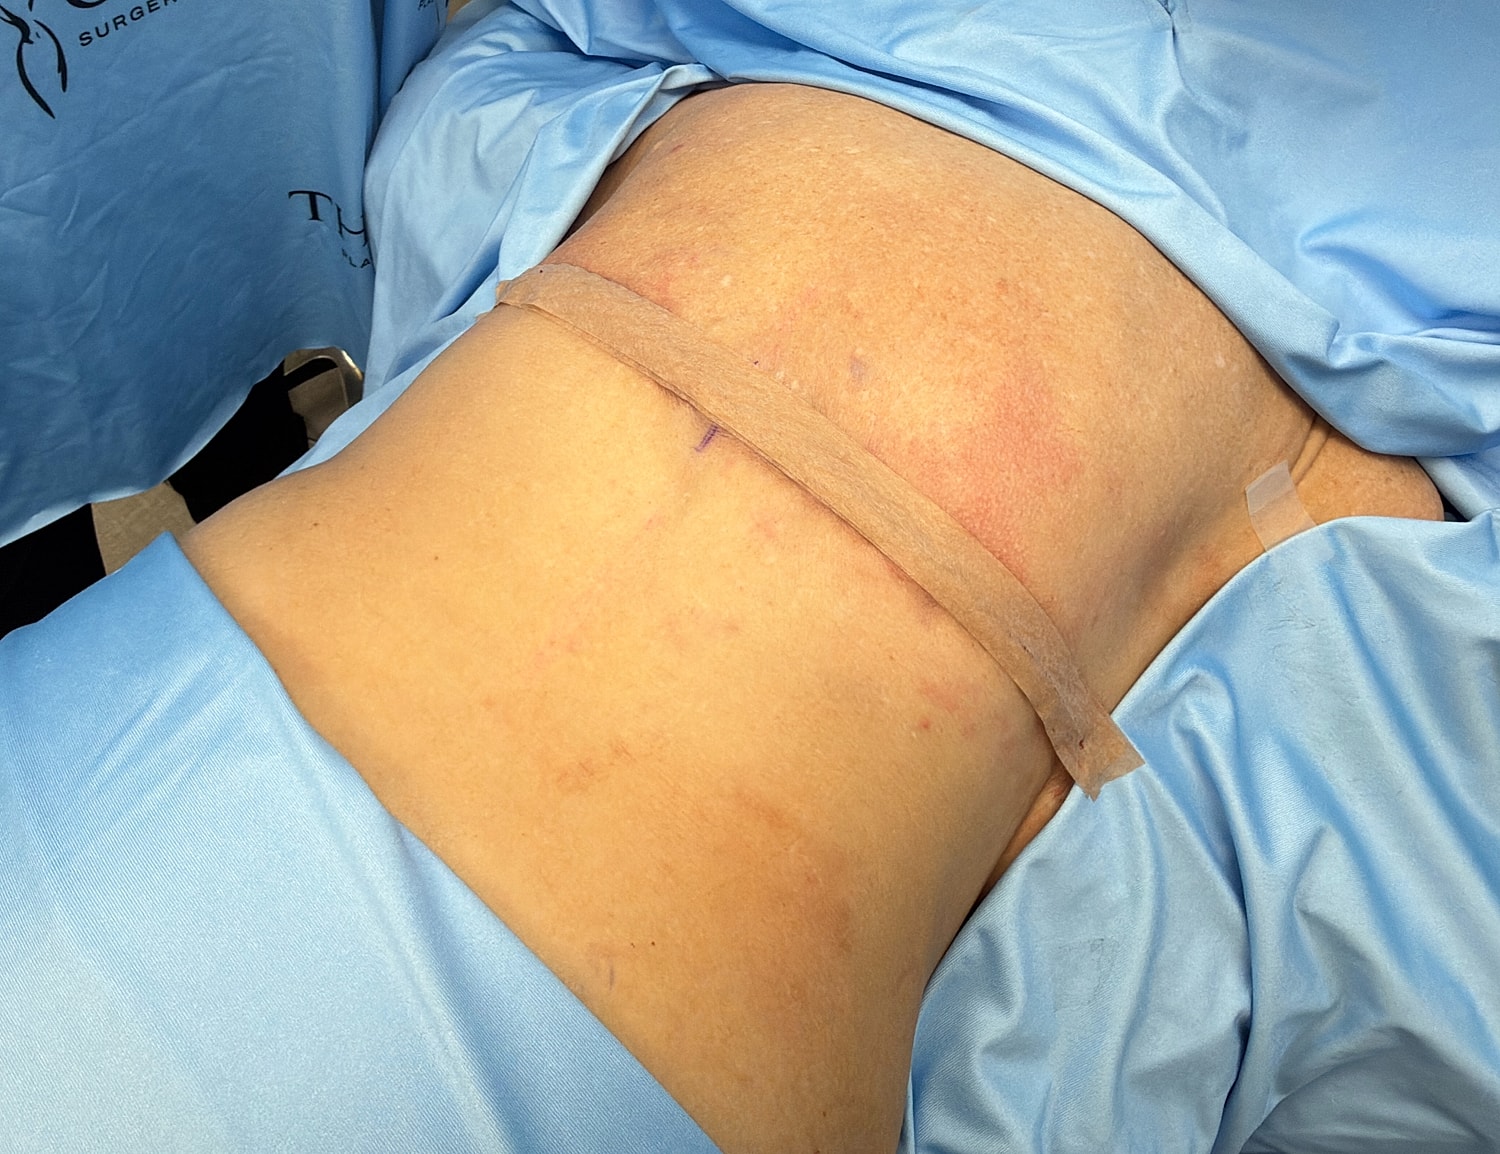
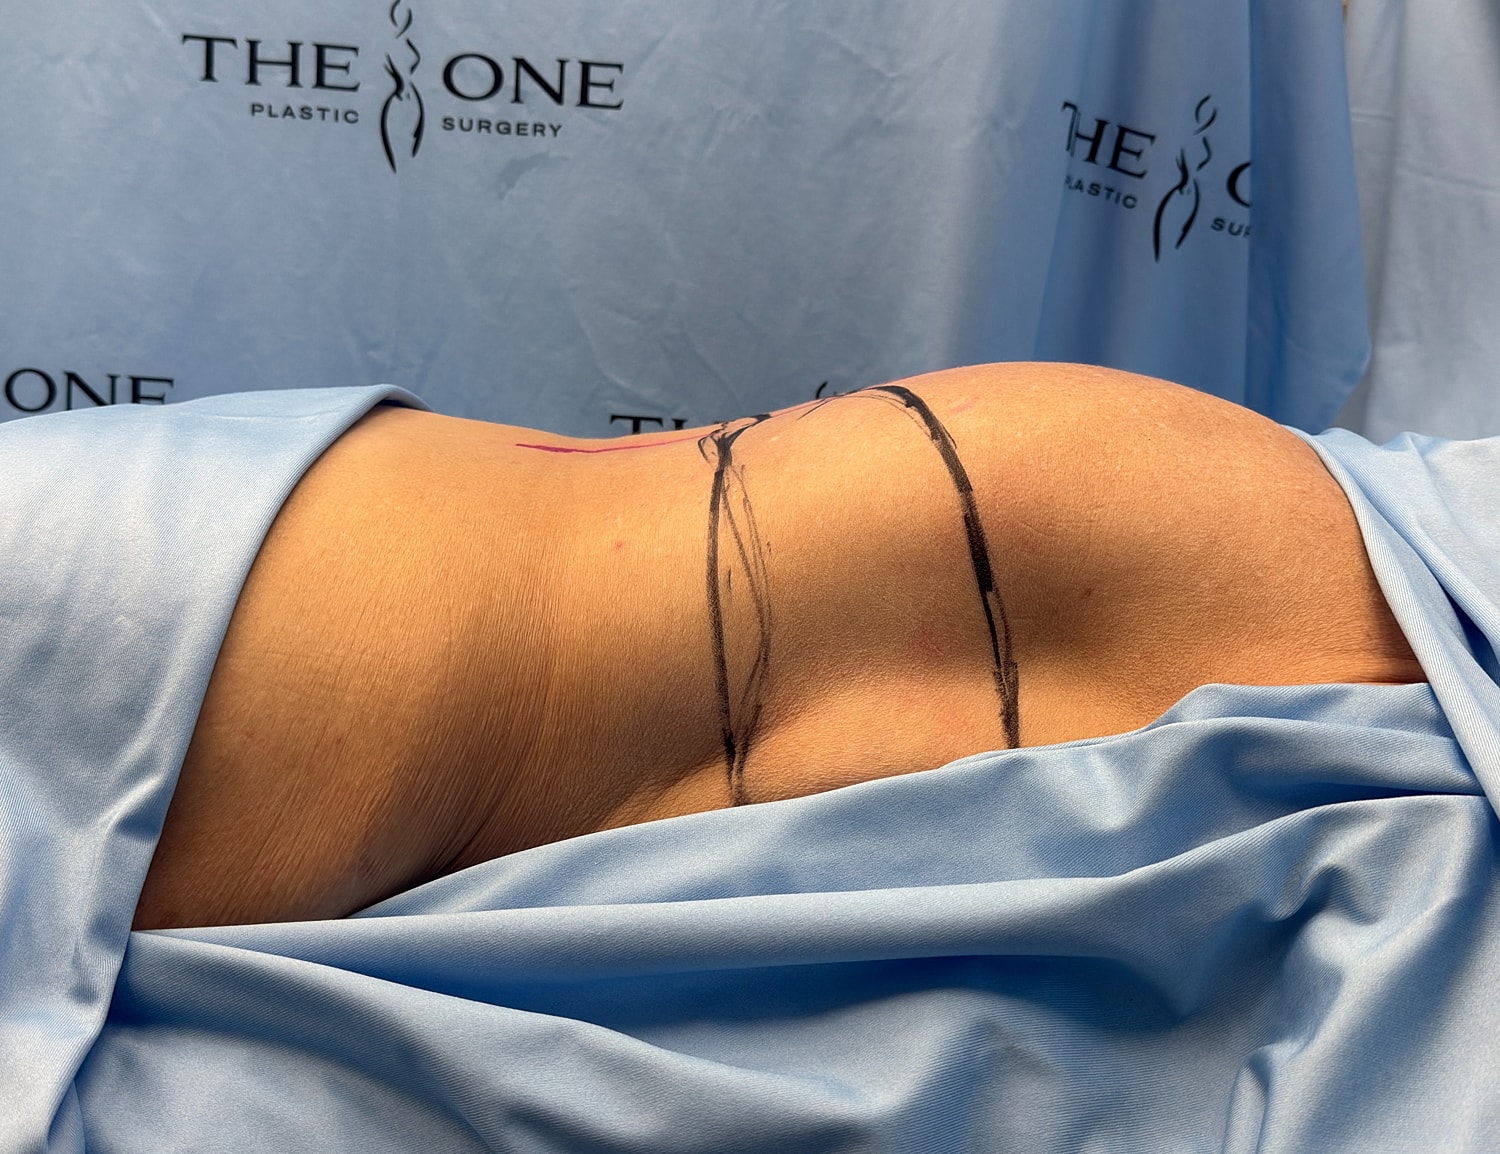
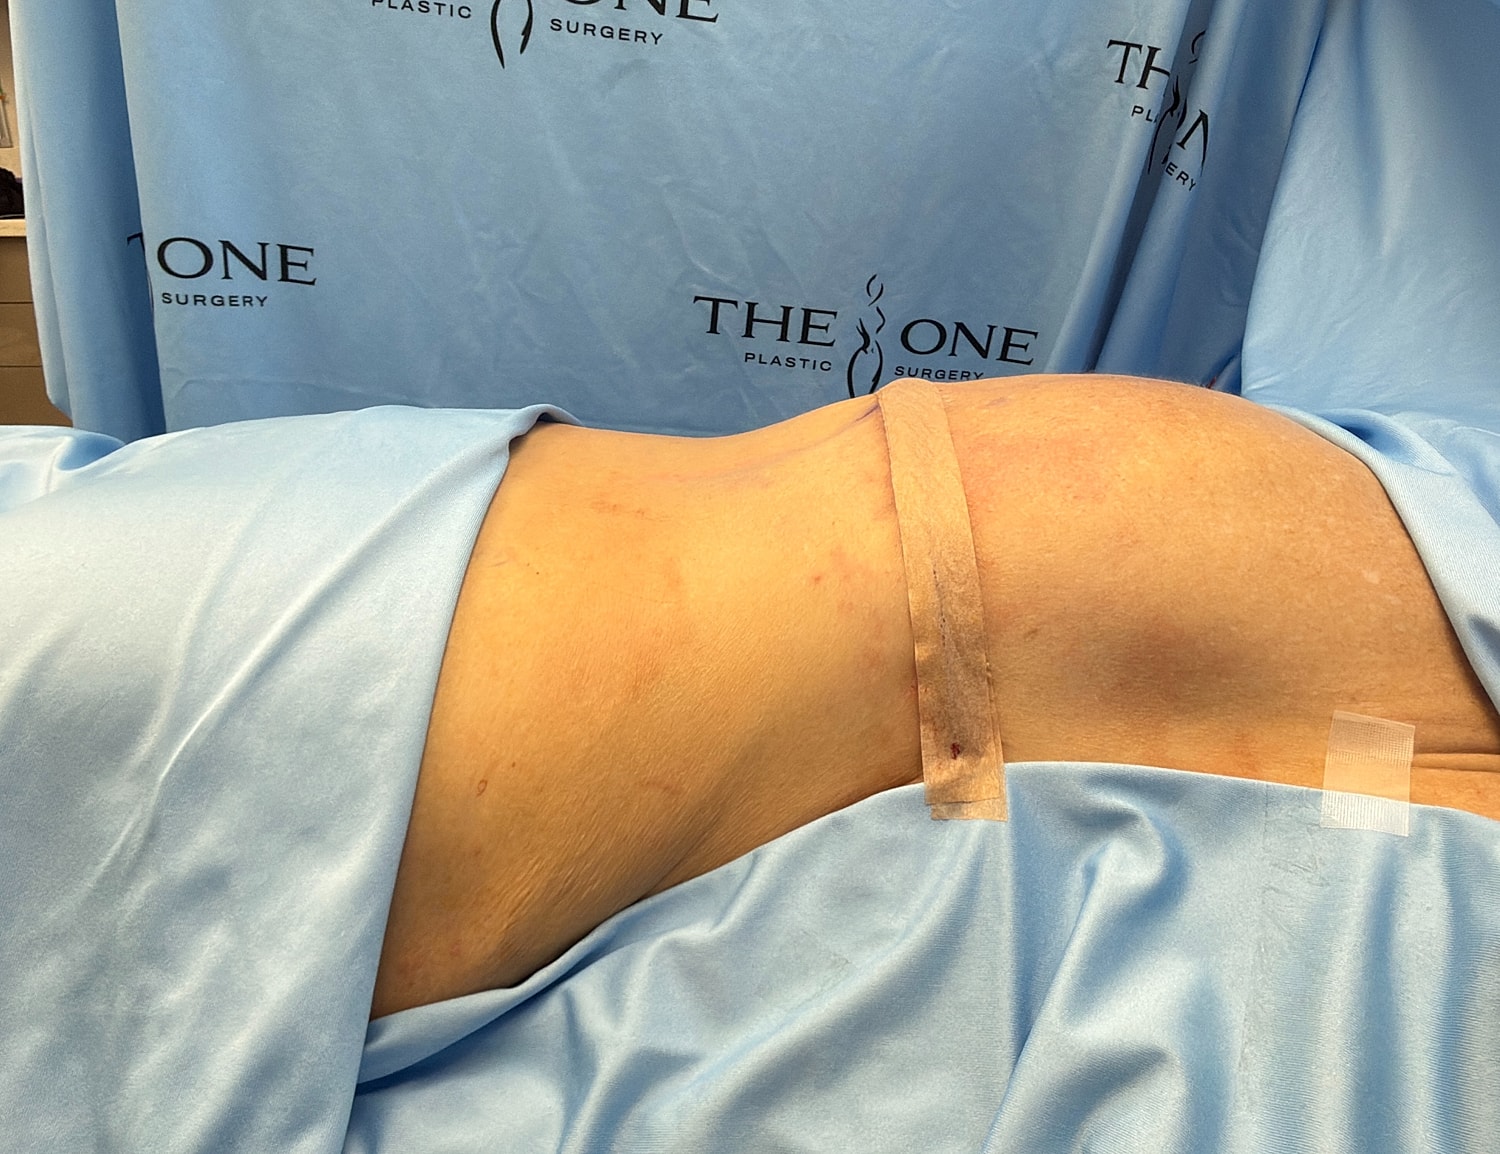
So far we have done our bra line upper body lift, essentially through an incision that is placed in the bra line. We've removed several inches of upper back skin, tightened her upper back, the mid back, and the lower back in unison. And I've inverted her incisions so that we get a thinner and more aesthetically pleasing scar.
So today we are doing a breast lift and breast augmentation redo. This is her fourth surgery. I've just removed her implants, and as I suspected, what you see here is... You see this? This is breast tissue. These are vessels. Her muscle, which normally would be adhered here, has been released. So this is a biplanar approach. I'm not a fan of biplanars, so a lot of times when you get breast augmentation, you really need to understand what's happening. A lot of plastic surgeons like the biplanar approach. That is releasing the muscle, usually from the region of the 9:00 all the way to the 5:00 completely. Sometimes they go even further up. By doing that, what you are doing is moving the pectoralis muscle upwards, and then your implant is essentially covered by breast tissue. Now, if you do a complete resection like here, what you'll notice is the fact that the implant can go more and more centrally, as is the case today. So our patient has symmastia, meaning that this implant with the other implant are kissing one another because she has no support. So now I have to create support. I have to suture this back to the chest like this and create support to prevent migration of the implant from here to here. Not a very easy thing to do through a small hole.
So here is our first placement of the suture I've already marked. So this is how we're going to close this pocket, and it's going to be not easy. And I do multiple corrections. So this is going to be the first one. I'm going to put a series of these, then I'm going to do another layer over it, and then I'm probably going to place a GalaFLEX 3D mesh over my reconstruction so that it will not open up. So you can imagine how difficult this procedure is because you have to put them each individually. And then what you'll notice is that they have done it here, you see? You see all these green sutures? They had done this procedure for the lower aspect and even the outer aspect, but then they moved the implant inwards. Hold on here, please. So the outer pocket is closed. These are Ethibond sutures. They are permanent sutures. But you see? Now we have to do the same thing, but I'm going to now do it like this by reconstructing her inframammary fold so that this will give her a true correction. And then on top of that, we'll put the mesh. So let's put another one so you can see how difficult these are, because I have to make sure I place them correctly like this. One at a time. And then we want to get it very close to the skin. And then now I'm going to take a bite of literally the rib cage when you can. Then we're going to tighten up. Okay. I'll show you more of these later.
So we have now placed the implant back. What you'll see is the correction in terms of cleavage. We have about a centimeter of cleavage, meaning that we sutured the capsule all the way back to the rib cage here and here. I have sutured the inframammary fold to the rib cage. When you suture it to the rib cage, it's not going to move. It's not like the last repair that was performed by someone else, whereby they had placed the permanent sutures here, but the capsule had kind of opened up underneath the permanent sutures. So what you have to do is obviously suture the capsule to the rib cage so it doesn't move, and that's what we have done for her here and here. And now I'm going to put a second layer on it, and then I'm going to put the GalaFLEX mesh. Yes. Obviously, we are doing a lot of corrective surgery, but the time to do it is now, and we are taking an approach that is pretty complex so that hopefully this will not happen, and she won't need a fifth surgery somewhere else.
So now that we have finished our reconstruction internally, we're going to use a 3D GalaFLEX mesh. This is essentially a mesh that provides another level of support. We're going to suture it in place, and then we're going to place our implant. These meshes actually get resorbed over time. It takes about a year to two years for them to be completely gone, but by that time, they get replaced with collagen. So the support and the reconstruction is more or less permanent, and the mesh will be gone in a year or two.
So guys, we are now finished with our surgery, and just look at the tremendous change we've been able to make for our patient. This is her fourth breast lift, breast augmentation, and today what we had to do was pretty complex. Our patient had symmastia, which is essentially migration of the implant centrally on both sides, and that had to do with the fact that her pectoralis muscles were released from here all the way to here on both sides. That is a biplanar approach, which is not always the best for everyone. What we had to do was to reconstruct the edge of her capsule so that the implant stays here, and I had to do that by placing sutures that more or less go from the dermis of the skin to the rib cage so that it holds the implant in place and prevents migration of the implant centrally. We also had to reconstruct her inframammary crease and fold higher by elevating this and suturing it at a higher position. And then I placed a GalaFLEX mesh to bring additional support here and then replaced her implants, replacing the larger ones with slightly smaller ones. So this is as hard as it gets. This is pocket modification, implant exchange, and breast lift revision that you are seeing all in one setting.